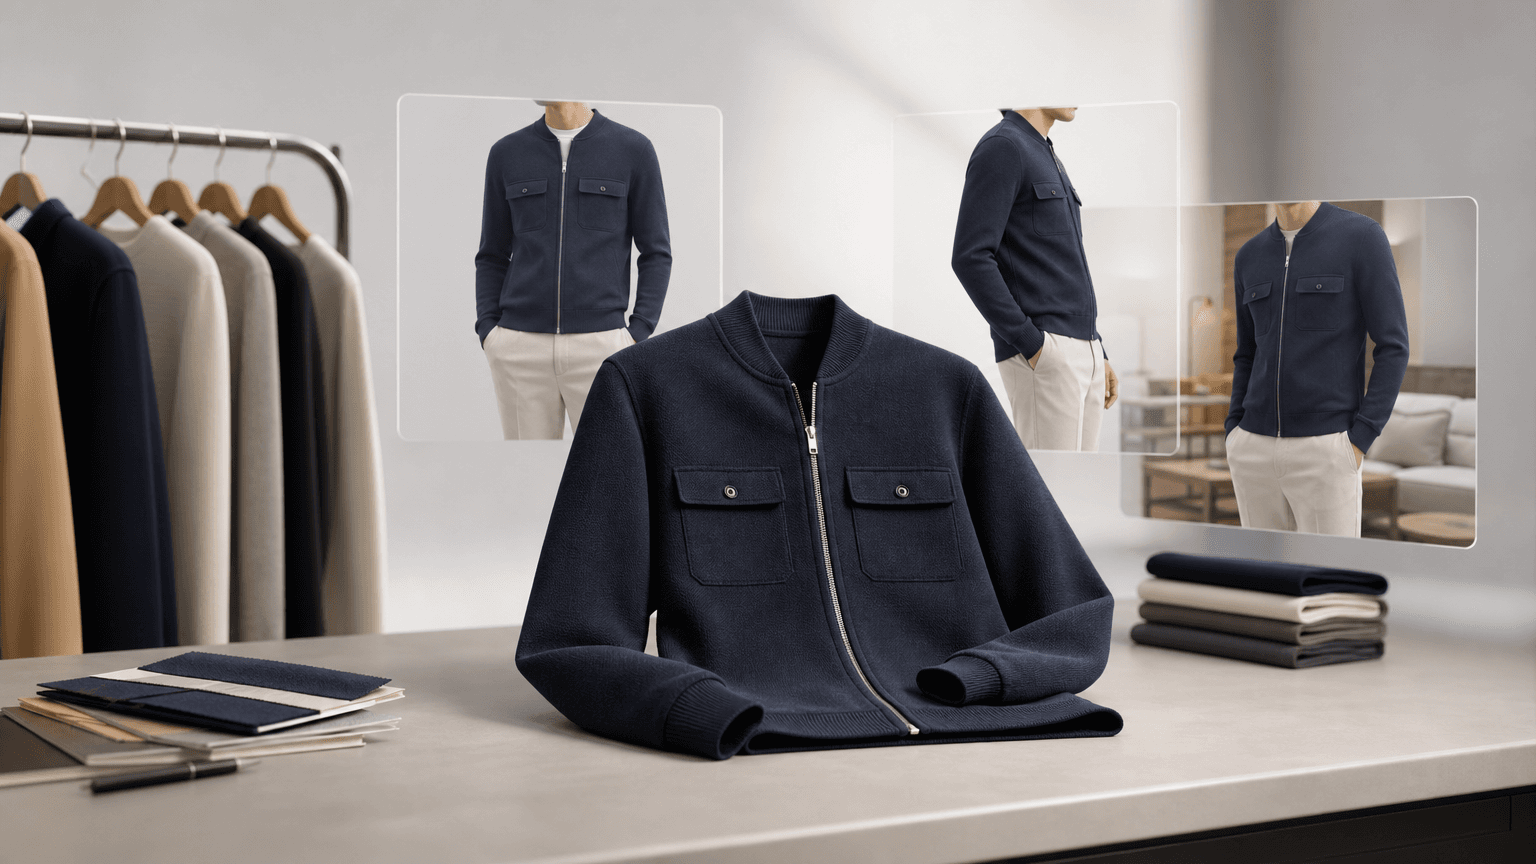
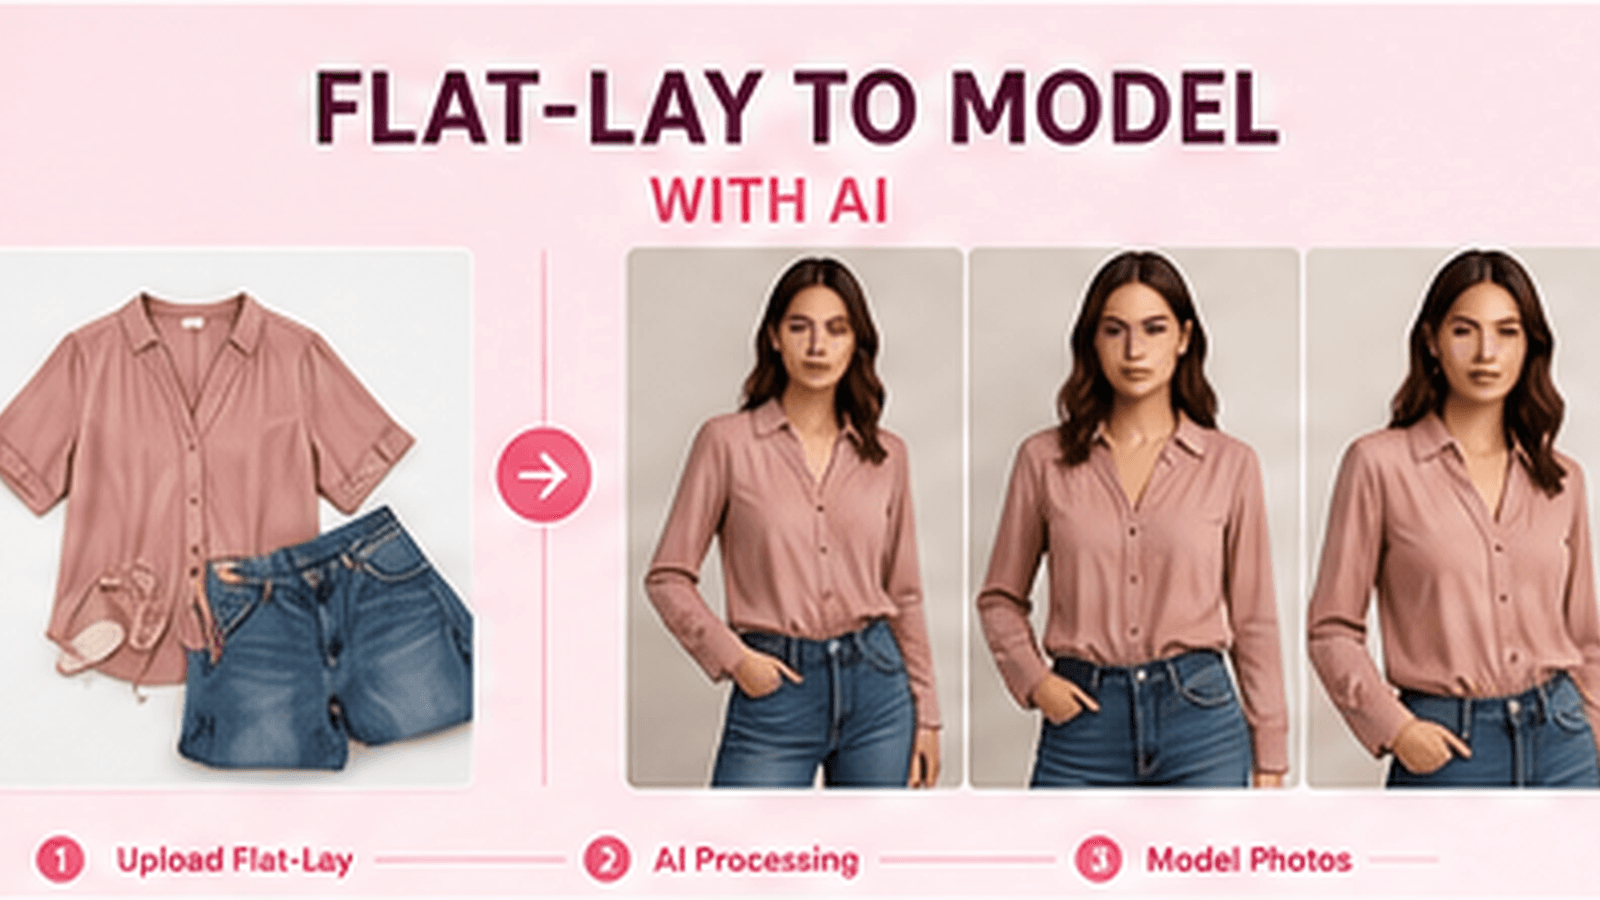
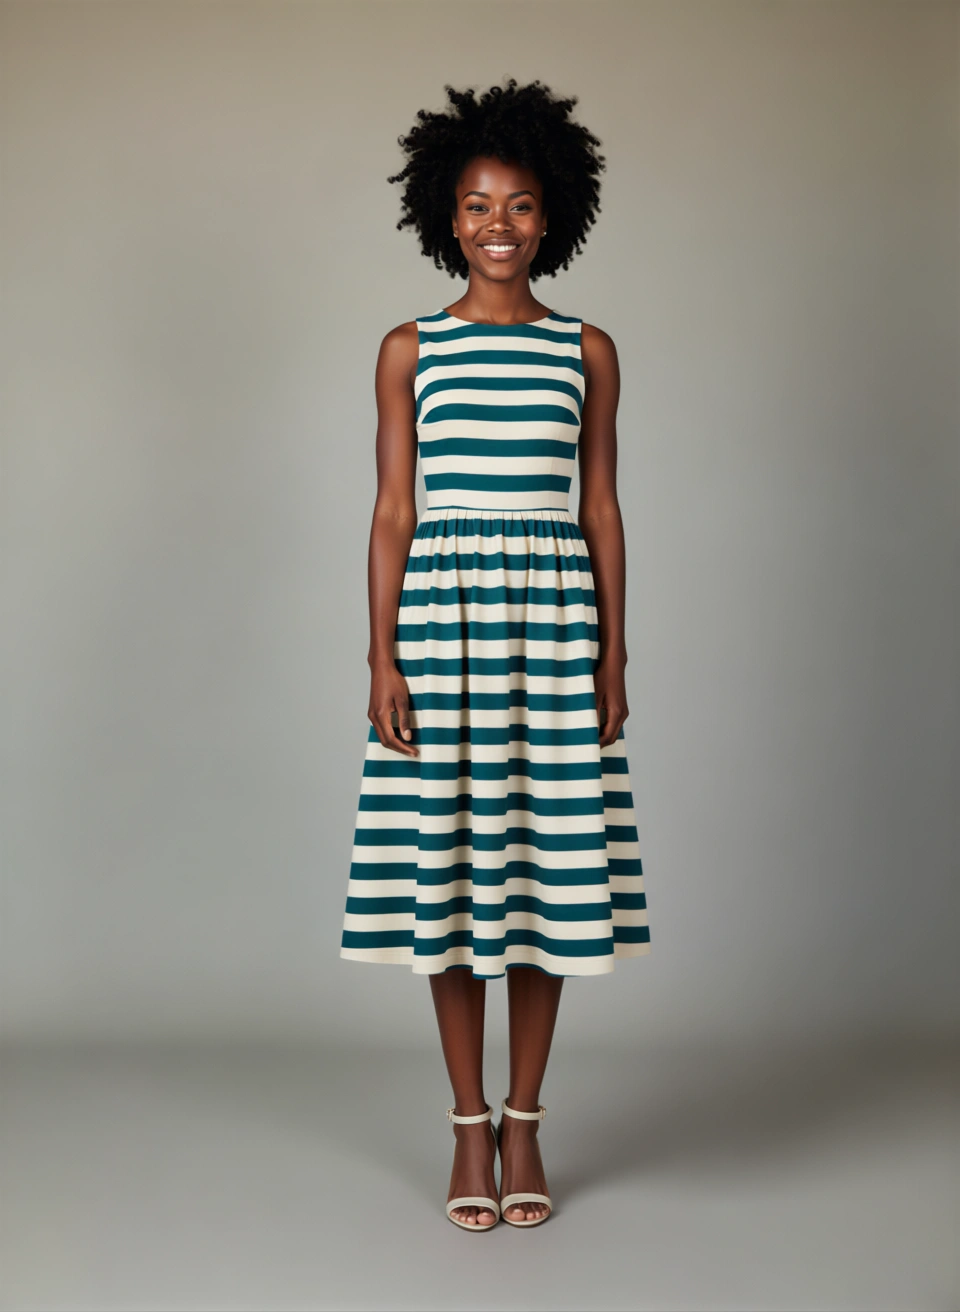
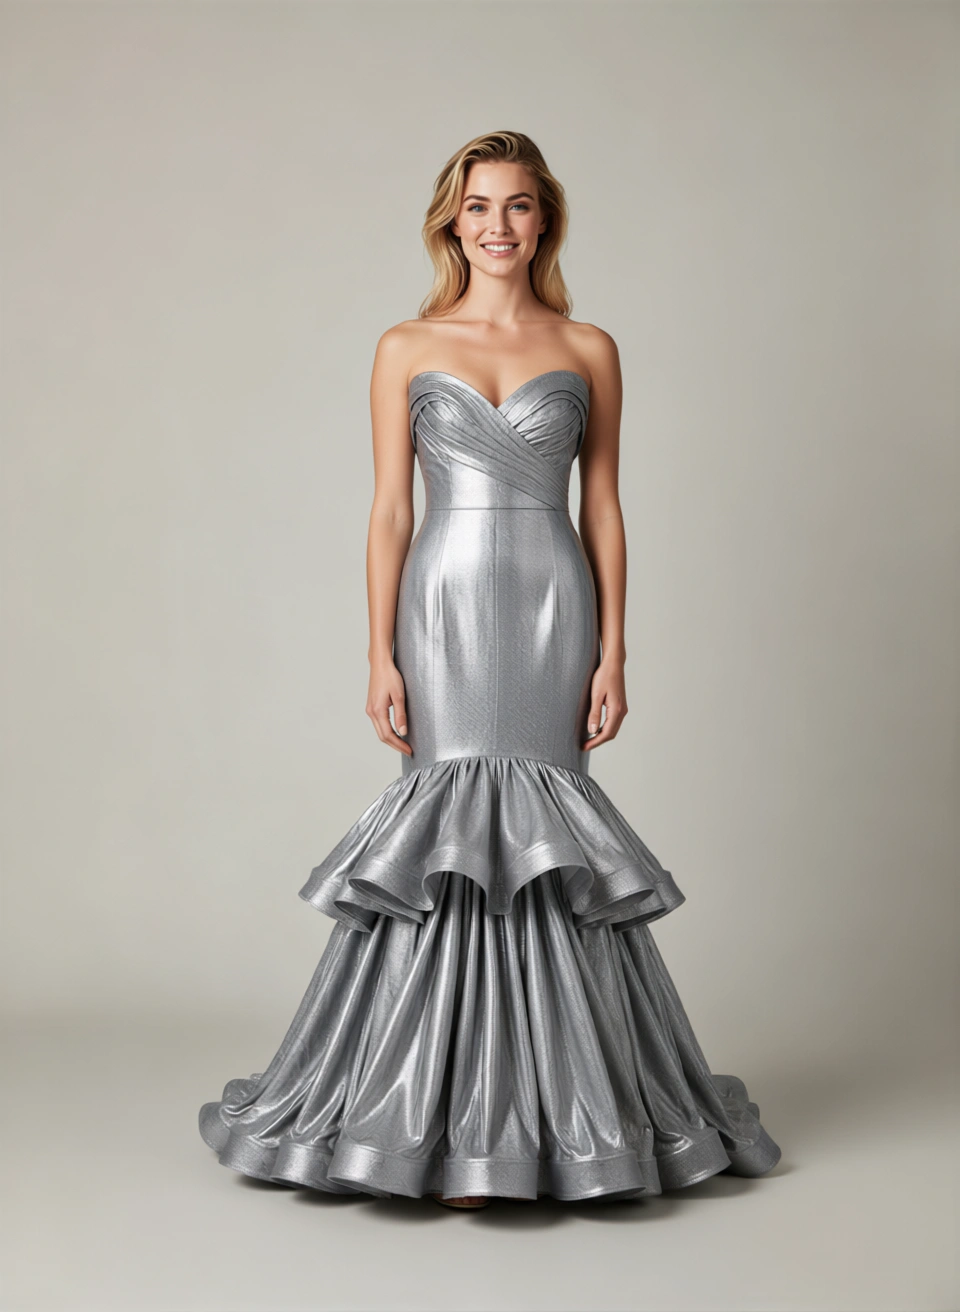
A Shopify product photography workflow that scales
Getting a good image is the easy part. Getting a thousand of them onto product pages, in the right order, with the right alt text and the right variant mapping, is the part that breaks. Here is how to structure it.

Janjan Team
Author
Every fashion merchant we talk to has the same shape of problem. Photography is not the bottleneck they thought it was — the bottleneck is everything between "we have images" and "the product page is live".
Images arrive in a shared drive with inconsistent names. Someone has to work out which frame is the hero, which one maps to the burgundy variant, and what the alt text should say. Multiply that by a seasonal drop and the operational cost swamps the creative cost.
This post is about structuring that middle section so it stops being manual.
Define your image set before you generate anything
The first decision is what a complete product looks like. Not what a nice image looks like — what a complete product looks like. For most fashion catalogues that is a fixed set, something like:
- Hero — full-length, front, on a neutral background. This is the grid thumbnail.
- Three-quarter — the same setup rotated, for the second slot.
- Back — so shoppers are not guessing at how the garment finishes.
- Detail — fabric, hardware or trim at close range.
- In context — a lifestyle or location frame, if your brand uses them.
Write that list down and treat it as the contract. Every product either has all five or it is not ready to publish. This one decision removes most of the ambiguity downstream, because now "is this product done?" has a yes-or-no answer instead of a judgement call.
Name files so a machine can read them
If your file names encode the contract, everything after this point can be automated. A convention that works well:
{sku}_{variant}_{slot}_{index}.webp
For example: AW26-KNT-014_burgundy_hero_01.webp.
Three properties make this work:
- The SKU comes first, so sorting groups everything for a product together.
- The variant is explicit, so colour mapping does not depend on someone remembering which frame was which.
- The slot is named, not numbered, so
herostays the hero even if you insert a new angle later.
The specific convention matters far less than having one. What you are buying is the ability to write a script — or use an import tool — instead of dragging files in a browser tab.
Map variants deliberately
Shopify's product model lets each variant carry its own image, and fashion catalogues are exactly the case where that matters. A shopper who taps "burgundy" and still sees the navy jumper has been given a reason to leave.
Two rules keep this manageable:
- Every colour variant gets its own hero. Size variants share the colour's images; colour variants never share.
- Non-hero slots can be shared if the garment construction is identical across colours and the detail shot does not need to show the colour. Be honest about this one — a fabric close-up usually does need to show the colour.
Decide the rule once, encode it in the file naming, and the mapping becomes mechanical.
Write alt text as part of the image, not after it
Alt text gets deferred and then never happens. The fix is to generate it at the same moment as the image, from data you already have.
A serviceable pattern for fashion:
{colour} {product name}, {view}, on model
Which gives you: "Burgundy ribbed wool jumper, front view, on model."
That is genuinely useful to someone using a screen reader, it is honest, and it can be generated from the SKU record without anyone writing prose. Reserve hand-written alt text for the small number of images where something specific needs describing — a print, a graphic, a construction detail.
Avoid the two common failure modes: keyword stuffing, which makes the page hostile to screen reader users, and empty alt attributes on images that carry real product information.
Keep a staging step
Do not publish straight from generation. Put a staging step between the two, where a person looks at the complete set for a product against the contract you defined in step one.
The staging review is short because the contract is explicit — five slots, correct variant mapping, alt text present, colour within tolerance. It is a checklist, not a critique. The creative judgement already happened when you approved the setup; this step is only checking that the pipeline did what it was told.
Teams that skip this step end up doing the same review anyway, but on the live storefront, with customers watching.
Batch by product family, not by deadline
The last piece is sequencing. It is tempting to work through the catalogue in the order things are due, but that means constantly switching between setups — and every switch is a chance for drift.
Batch by product family instead. Do all the knitwear, then all the outerwear, then all the dresses. Within a family the setup is stable, the review is faster because you are comparing like with like, and inconsistencies stand out immediately because they are sitting next to their siblings.
If a deadline forces you out of family order, at least finish the family you are in before switching.
Putting it together
None of the individual steps here are difficult. The reason catalogues get stuck is that the steps are usually implicit — each one lives in someone's head, and the process only works when that person is available.
Making them explicit is what turns product photography from a project into a pipeline:
- A fixed image set per product.
- A file naming convention that encodes it.
- A deliberate variant mapping rule.
- Generated alt text with hand-written exceptions.
- A short staging review against the contract.
- Batching by family.
If you want to see how this maps onto your own catalogue structure, get in touch — or read how to brief production-ready studio photos for the step that comes before this one.