AI Fashion Studio: Flat-Lay to Paid Social in One Workflow (2026)
Turn flat-lays into on-model photos, PDP assets, and Meta/TikTok creatives without a reshoot. Janjan AI's end-to-end workflow covers every step from input to export.
Janjan Team
Author
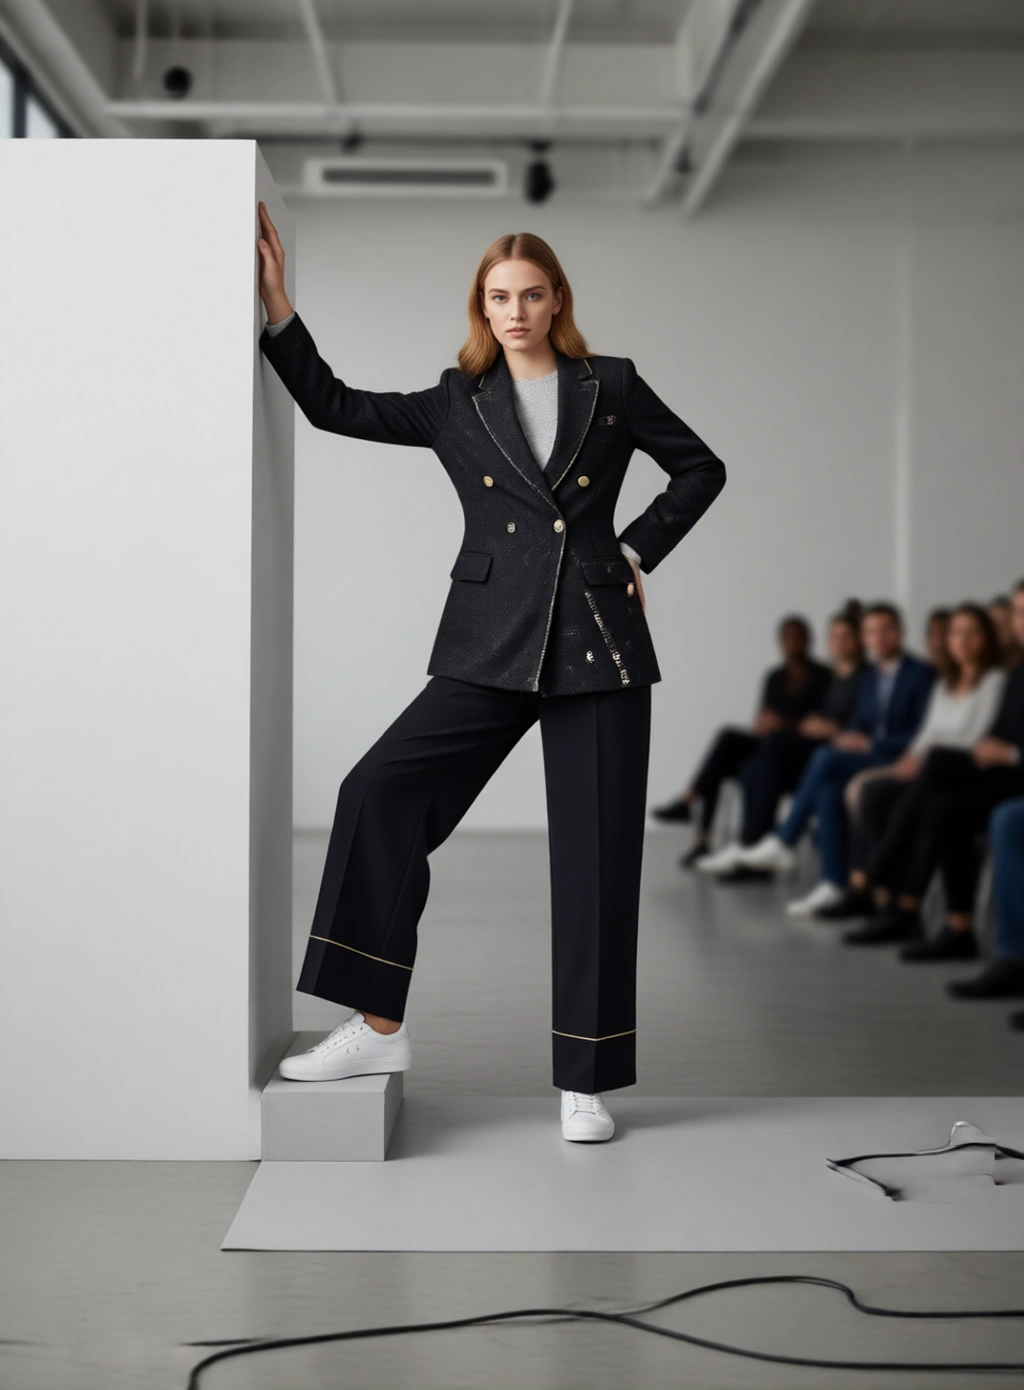
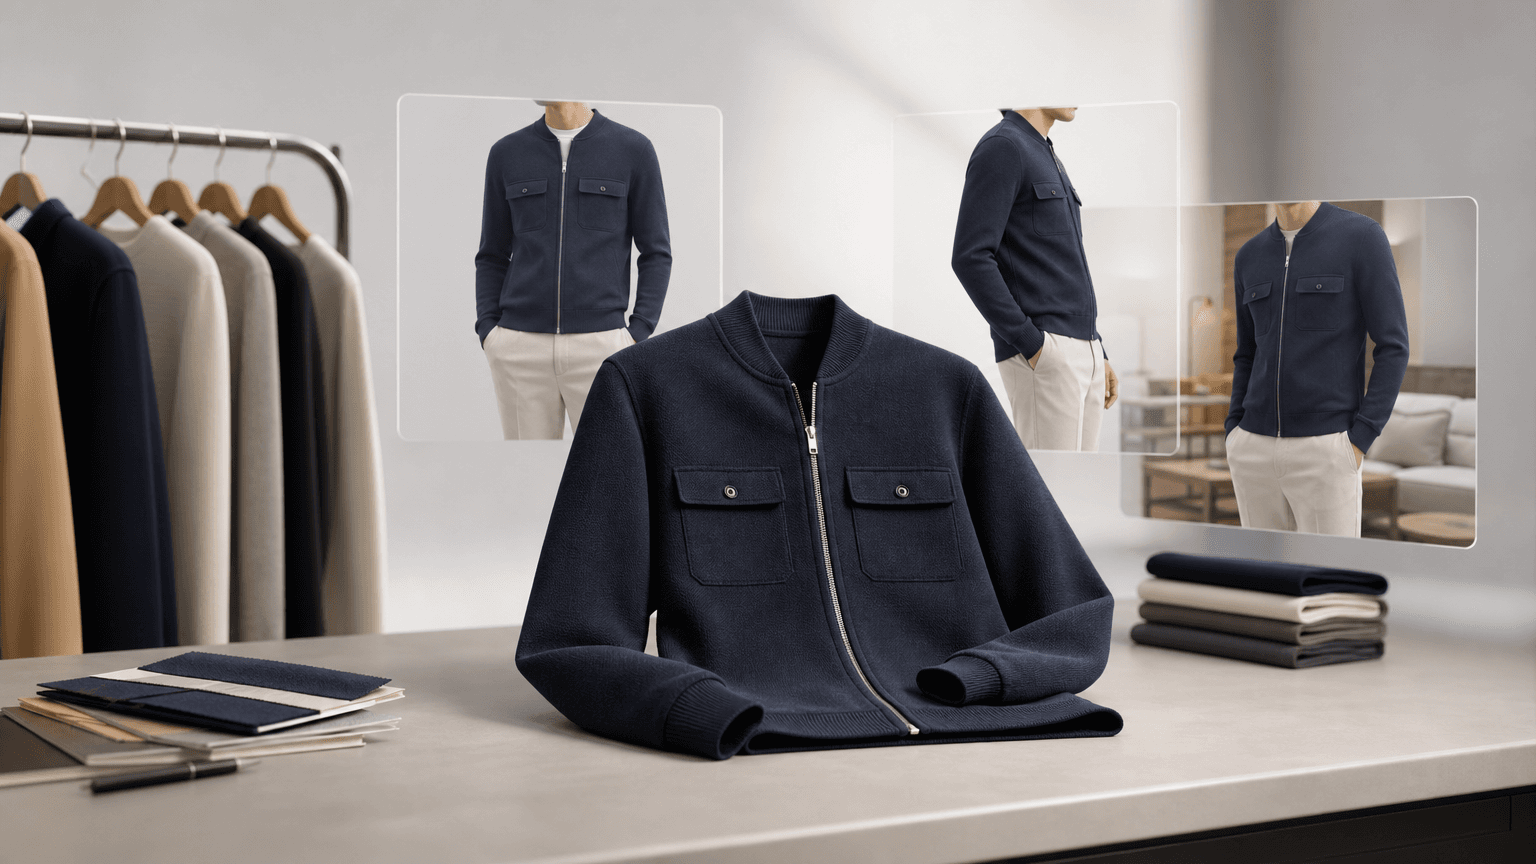
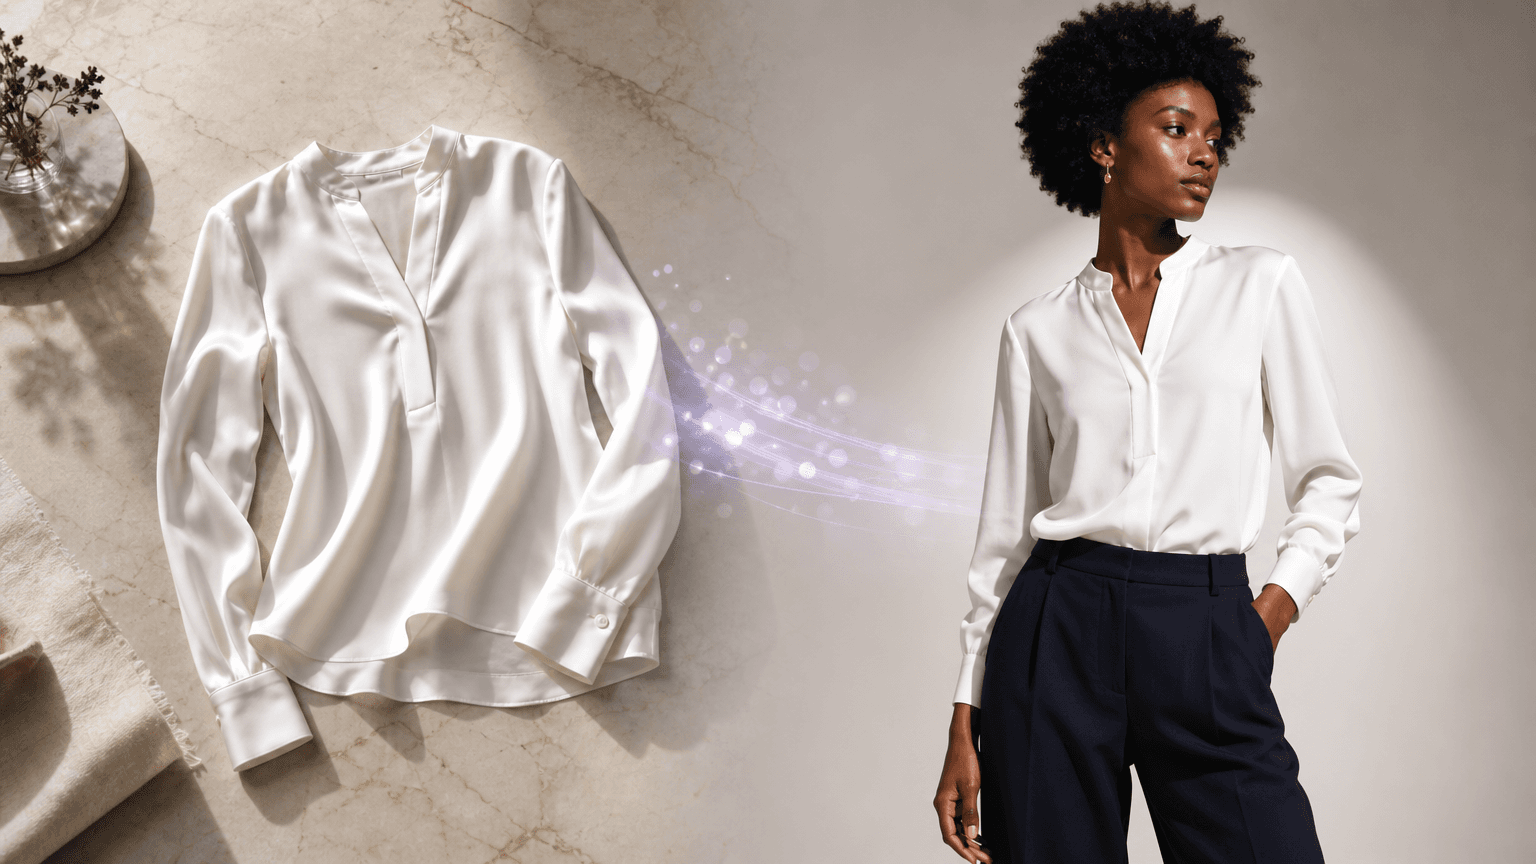
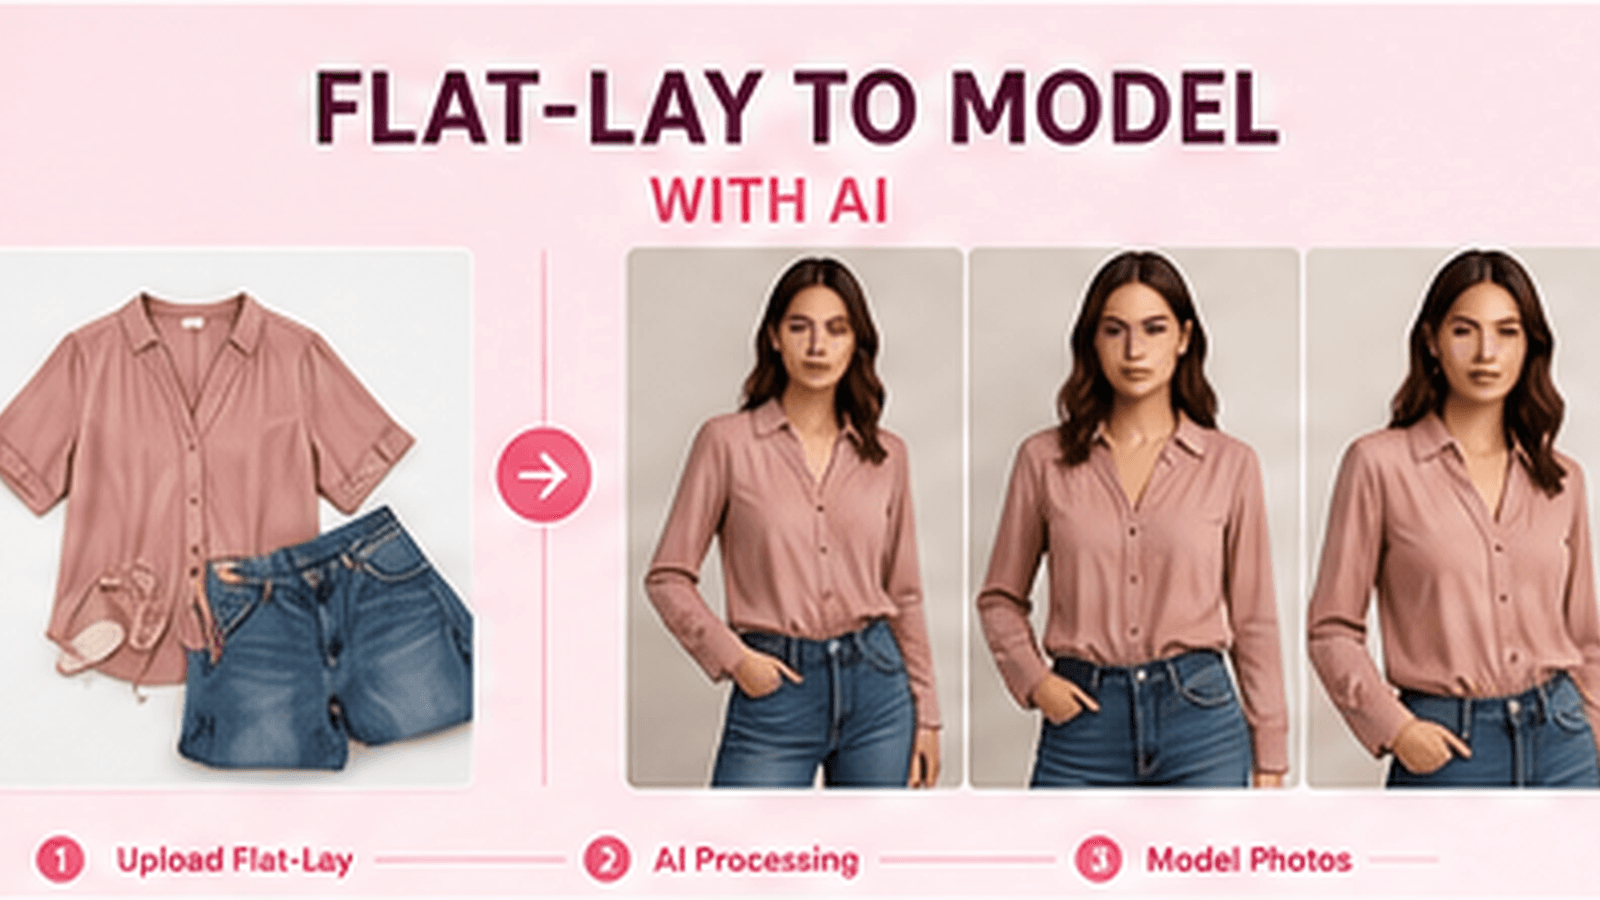
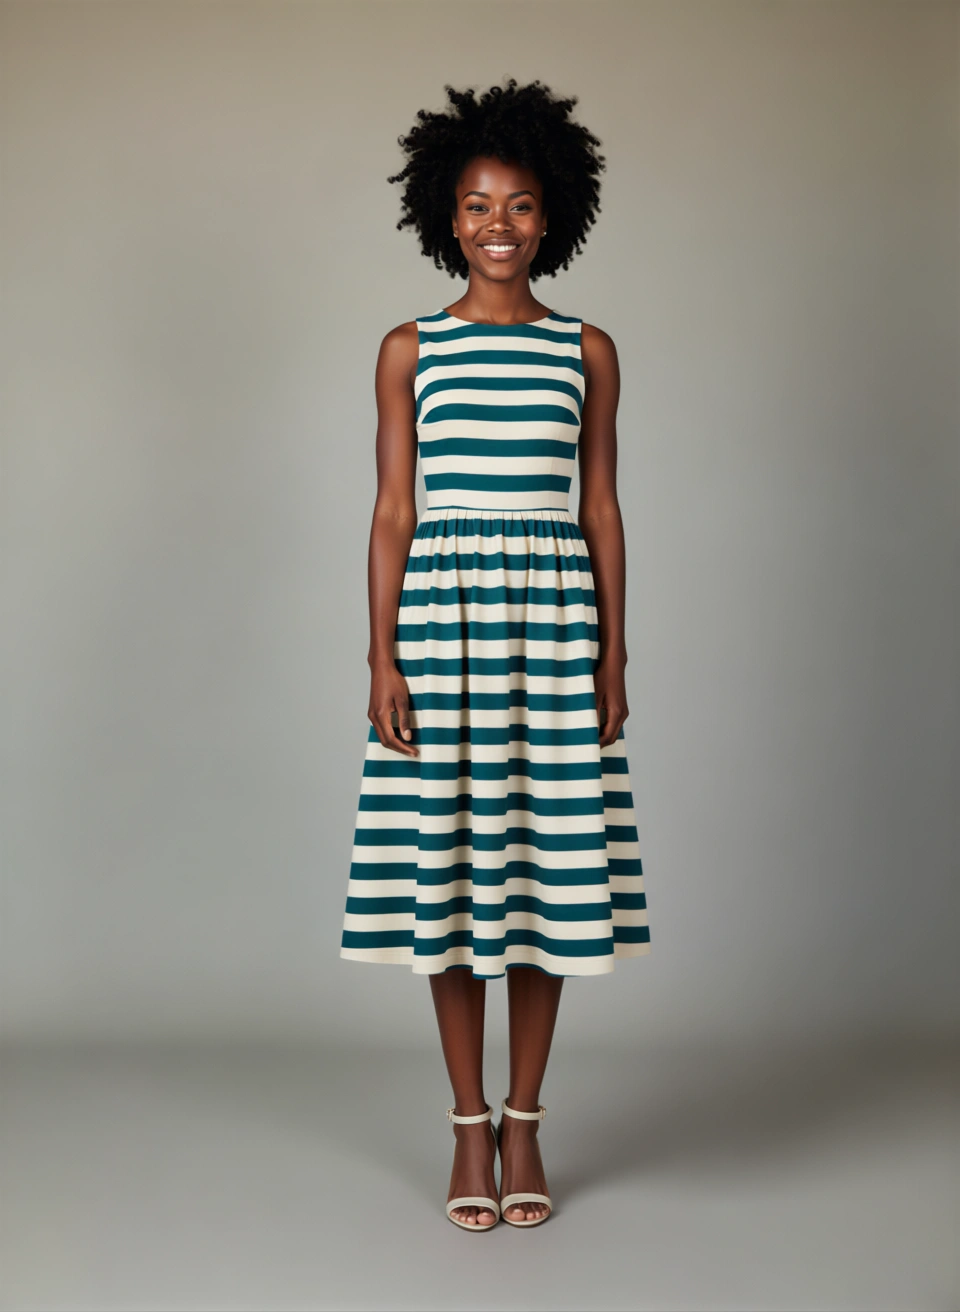
Janjan AI is the AI fashion studio that takes your garment from a flat-lay or mannequin shot all the way through to approved PDP images, Meta ad creative, and Instagram/TikTok-ready short-form video, without booking a single shoot day. One input, one review process, every channel covered.
The workflow at a glance:
Garment input (flat-lay / mannequin / supplier shot) → Generate on-model frames → Review & approve → Publish to Shopify PDP → Create ad variations (Meta / TikTok) → Export channel-ready assets
What "studio-grade" actually means for ecommerce teams
Production-ready is a narrower target than good-looking. Most teams judge an AI-generated frame on whether the model is beautiful. Art directors don't look at that first. They look at whether the collar sits right, whether the fabric drapes the way the sample drapes, and whether the shadow under the hem is consistent with the shadow on the wall.
For PDP and paid social, a frame has to clear five bars simultaneously:
- Garment detail fidelity, every seam, button, zip, and trim is visible and accurate.
- Correct drape, a stiff linen behaves like linen, not like jersey.
- Contact shadows, where the garment meets the body, and where the model meets the floor. Missing contact shadows are the single most common reason a frame reads as synthetic.
- Consistent colour, no warm cast carried in from the source shot, no screen-to-screen drift.
- Consistent structure, every frame in the same product family sits in the same relationship to the camera.
When all five pass, the asset can go live on a PDP, run as a static ad, or drop straight into a Meta or TikTok creative pack. Fewer reshoots, faster approvals, faster testing.
Step 1: Prepare the garment input (quality gate)
The single biggest predictor of a usable frame is the quality of the source you give it. A generative model can build a plausible studio around a garment, but it cannot invent detail that isn't in your photo. Fail this step and everything downstream suffers.
Acceptable vs not acceptable inputs
| Input type | Acceptable? | Notes |
|---|---|---|
| Flat-lay (well-lit, full garment visible) | Yes | Most common starting point |
| Mannequin shot | Yes | Works well for structure-heavy garments |
| Ghost mannequin / invisible mannequin | Yes | Good for coats, tailoring, knitwear |
| Supplier / lookbook shot | Conditional | Only if garment fills the frame and colour is honest |
| Cropped or off-edge garment | No | Missing edges become guesses, guesses are inconsistency |
| Warm-lit or colour-cast shot | No | Cast carries into every generated frame |
Before uploading, run through these four checks:
- The whole garment is visible. A cropped sleeve or a hem that runs off the edge becomes a guess. Guesses are where fidelity failures start, and fidelity failures get rejected at PDP review.
- The fabric texture is legible. If you can't see the weave, the rib, or the pile at 100% zoom, the model can't either. Ribbed knits and technical fabrics need a sharp source.
- The colour is honest. Shoot on a neutral background under even light, or correct the source before uploading. Warm store lighting carries into every frame you generate from it.
- Hardware and trims are in focus. Zips, eyelets, buckles, and logo tabs are the details reviewers zoom into first at PDP scale.
Flat-lays, mannequin shots, and ghost mannequin shots all work. What matters is that the garment is unambiguous, not that it is already styled.
See the full flat-lay to on-model photography guide for input preparation examples.
Step 2: Brief the scene like a photographer (light + camera spec)
The most common briefing mistake is describing a mood instead of a setup. "Editorial and moody" gives the model nothing to work with. "Single softbox camera left, white bounce card camera right, seamless grey backdrop" gives it a scene it can reproduce consistently.
A useful brief names four things:
- The key light, quality (soft or hard), direction, and roughly how high it sits.
- The fill, a bounce card, a second softbox, or nothing if you want deep shadows.
- The background, seamless paper, a cyclorama, a textured wall, a location.
- The camera, focal length and distance, because an 85mm portrait and a 35mm three-quarter shot flatter garments very differently.
You don't need to be exhaustive. You need to be specific enough that two people reading the brief would set up the same shot.
AI-safe brief templates (copy and adapt)
Hero / PDP full-length:
Full-length shot on light grey seamless. Large softbox camera left at 45 degrees, white bounce card camera right. 85mm lens, model standing three-quarters to camera, weight on the back foot. Soft shadow falling to the right of the model.
Three-quarter / campaign:
Three-quarter shot, model facing slightly left. Large octabox overhead, mild fill from below. Off-white backdrop. 85mm equivalent, chest to mid-shin framing. Neutral expression, arms relaxed.
Detail crop:
Close-up of chest/collar area, sharp focus on fabric texture and hardware. Diffused daylight from the left. Neutral mid-grey background. No shadow falloff visible in frame.
Lifestyle / outdoor:
Urban pavement background, late afternoon natural light from the right. Model walking towards camera, slight motion in the garment. Full-length framing. No strong shadows.
The second example in each case is not longer because it is more decorative. Every clause removes a decision the model would otherwise make for you, and those decisions are where inconsistency creeps in.
Step 3: Lock framing before styling (fashion catalogue consistency, not mood board)
Teams often iterate on styling while the framing is still moving. That makes it impossible to tell what actually changed between two versions, and it's the fastest route to a catalogue that looks like it was shot across three different productions.
Fix the framing first, full length, three-quarter, waist-up, detail crop, and only then start adjusting light, background, and pose. Once the frame is stable, every subsequent change is legible.
Build a setup library per product family
The practical way to hold fashion catalogue consistency across a full range is to define approved framing presets and save them before you start generating at volume.
For each product family (e.g., outerwear, knitwear, denim), specify what stays constant and what can vary:
| Element | Stays constant | Can vary |
|---|---|---|
| Frame (crop/focal length) | Yes | |
| Key light direction | Yes | |
| Background type | Yes | Colour / texture within type |
| Model ID | Yes (within family) | Across families or markets |
| Pose | Primary pose locked | Secondary poses for ad variants |
| Styling (colour, season) | Yes |
With a setup library in place, briefing a new arrival takes minutes rather than hours. You inherit the approved structure and only change what's new.
Step 4: Review like a retoucher (pass/fail rubric)
When a frame comes back, resist the urge to judge it as a whole. Run the same pass a retoucher would, checking each axis independently.
Approval rubric
| Axis | Pass criteria | Common failure | Likely root cause | Fix |
|---|---|---|---|---|
| Silhouette | Garment sits on body as sample does on fit model | Shoulder seam floating or hem line wrong | Cropped or ambiguous source | Better source input |
| Structure | Collars, cuffs, plackets, pockets match source construction (count buttons) | Collar rolled when it should be flat | Low-res or soft source | Sharper source photo |
| Colour | Matches source at 100% zoom, no cast | Warm orange cast across fabric | Warm-lit source | Correct source before upload |
| Shadow | Contact shadows present under hem and at body contact points | Missing floor shadow | Light brief too vague | Specify shadow direction in brief |
| Hands | Fingers plausible at PDP zoom | Distorted fingers | Complex gesture briefed | Simplify pose brief |
| Hardware | Zips, buckles, logo tabs accurate | Zip pull missing | Hardware not visible in source | Re-source with hardware in frame |
If a frame fails on silhouette or structure, the fix is almost always a better source image, not a better prompt. If it fails on light or shadow, the fix is in the brief.
Step 5: From on-model assets to PDP publishing
Once frames pass review, they need to be organised for the product detail page before anything else can be published or tested.
For each SKU, a complete PDP set typically includes:
- Hero (front, full length), the image that leads the product card and PDP carousel.
- Back / three-quarter, shows construction and fit from a second angle.
- Detail crop, fabric texture, hardware, collar, cuffs.
- Lifestyle variant (optional at PDP, useful for ad testing), outdoor or contextual scene.
Name assets consistently from the start: [SKU]-[angle]-[colourway]-[variant].jpg. Alt text should describe what's visible in the frame (Navy linen blazer front view on model, light grey studio background) rather than a generic product name. This matters for SEO and accessibility, and it makes re-importing to a CMS or PIM much faster.
Shopify integration: catalogue in, approved assets out
Janjan AI's Shopify product photography workflow connects directly to your store so you don't have to leave the platform to manage the handoff. The process works in three steps:
- Pull source media from the catalogue, search by product title, SKU, or alt text, and choose the exact Shopify media you want to work from.
- Generate and review in a gallery, create variants inside the studio, review outputs in a gallery-style interface, and approve what passes the rubric above.
- Sync approved assets back to Shopify, push the approved output back to the original product's media gallery, or create a new Shopify product directly from the generated assets without leaving Janjan.
That loop eliminates the download-rename-reupload cycle that typically costs merchandising teams hours per drop.
Step 6: From PDP assets to paid social creative (Meta and TikTok)
Approved PDP frames are your creative foundation. From a single locked setup, you can generate a full channel pack without a new shoot day.
The creative scaling loop
For each SKU, the creative pack for paid social testing typically needs:
- Hero static (1:1 and 4:5), the clean studio frame, cropped for feed.
- Lifestyle variation, same garment, outdoor or contextual scene, different model pose.
- Detail shot, fabric or hardware close-up for scroll-stopping creative.
- Short-form video clip, motion version of the hero or lifestyle frame for Reels and TikTok.
To generate variants, you keep the approved creative direction (model, light, framing) and swap one variable at a time: background, pose, scene, crop ratio. That single-variable discipline is what makes the pack feel like a set rather than a collection of unrelated images.
According to Web Tonic's E-commerce Ad Creative Stats (2026), static ad production through traditional means runs $50–$200 per asset, and professional video production runs $800–$3,000 per asset. At those rates, a 10-SKU launch with two static variants and one video per SKU could cost anywhere from $9,000 to $32,000 before retouching. Generating the same pack from approved catalogue inputs changes the economics significantly, and it does so while the collection is still fresh, not weeks after the launch window has closed.
Janjan generates Meta and TikTok ad creative from the same source imagery, with 2K exports and over 100 model casting options for audience and region alignment. The complete guide to AI fashion photography covers the full range of channel-specific output formats.
Short-form video: turn your best on-model frames into motion ads
For short-form video on TikTok and Instagram Reels, you don't need a separate shoot. Your approved on-model frames are the starting point.
At a workflow level, the process looks like this:
- Select the approved hero or lifestyle frame that performed best (or that best represents the garment).
- Brief the motion: subtle garment movement, a slow pan, or a model-to-detail transition. Keep the camera position fixed.
- Export in the correct aspect ratio for the platform (9:16 for TikTok/Reels, 4:5 for Meta feed video).
Three things must stay consistent across motion and static frames in the same creative pack: garment drape and colour (so the product looks identical), framing (so the ad creative family feels coherent), and model identity (so audiences who've seen your static ads recognise the motion variant as the same brand).
Short-form video ad production through traditional routes runs $800–$3,000 per asset (Web Tonic, 2026). Generating motion assets from approved on-model frames keeps that cost from becoming a barrier to testing at scale.
One-workflow governance: approvals, ownership, and turnaround
Scaling creative production only works if the approval process scales with it. Without a defined workflow, every image becomes a separate negotiation, and the review queue becomes the bottleneck.
Set the spec before you generate at volume
Before you run your first batch, agree in writing on:
- Approved framings, which setups are locked for which product families.
- Approved backgrounds, specific options, not "something neutral".
- Colour tolerance, how close to source is close enough.
- Named reviewer per product family, one person signs off, not a committee.
- Pass/fail criteria, the rubric from Step 4, written down and shared.
Versioning: avoid the v1/v2/v3 confusion
When frames are being iterated inside a team review queue, version confusion is the most common source of wasted time. A few rules help:
- Name files with the variable that changed:
[SKU]-[angle]-[colourway]-softbox-v2.jpg, not justv2.jpg. - Archive rejected versions in a separate folder immediately, don't leave them in the active review queue.
- When a setup is approved, save the brief that produced it as a named preset. The next product in the same family inherits it without re-briefing.
Turnaround from upload to approved asset is under 60 seconds for a single generation. Batch processing across a product family depends on volume and review speed, not on shoot availability.
Pricing and ROI: what to expect when you replace reshoots
The honest ROI calculation for replacing studio reshoots with AI-generated creative production depends on three variables: your current cost per asset, your SKU volume, and how quickly you can approve.
Cost comparison framework
| Production method | Cost per static asset | Cost per video asset | Turnaround |
|---|---|---|---|
| Traditional studio shoot | $200–$800+ (day rate + crew + post) | $800–$3,000 | Days to weeks |
| Traditional retouch only | $50–$200 per image | n/a | Hours to days |
| AI-generated (Janjan) | Fraction of above at volume | Included in workflow | Under 60 seconds per frame |
Static production costs: Web Tonic, E-commerce Ad Creative Stats, 21 July 2026. Video production costs: Web Tonic, 21 July 2026.
Scenarios by SKU volume
30 SKUs / month (small brand, seasonal drops): A traditional studio day typically covers 20–40 looks. At 30 SKUs with two angles each, you're looking at one to two shoot days plus post-production. The main saving from AI generation is eliminating shoot day logistics and shortening approval cycles, measurable in days per month.
200 SKUs / month (mid-size retailer, ongoing buying): At this volume, traditional shoots require dedicated in-house or agency production resource. AI generation lets a small team produce approved assets from catalogue inputs continuously, without scheduling constraints. Asset throughput becomes the metric that matters: how many approved frames per week, not how many shoot days per quarter.
1,000+ SKUs / month (high-volume marketplace or fast fashion): At this scale, the traditional model breaks down entirely. The cost isn't just per-shoot, it's the operational overhead of coordinating hundreds of product samples, model bookings, and post-production batches. AI generation at this volume is a different category of solution: a production pipeline rather than a photography service.
The calculation that tends to move budget decisions: take your current cost per approved, publish-ready asset, multiply by your annual SKU volume, then subtract the cost of generating the same assets at your required quality standard. The gap is the opportunity.
See Janjan AI pricing for current plan options by volume.
Legal, licensing, and brand safety
Commercial usage
Janjan AI assets approved through the platform come with commercial rights for ecommerce and paid advertising use. This covers PDP images, paid social (Meta, TikTok, Pinterest, and similar), email creative, and onsite banners. If your use case falls outside standard ecommerce distribution, licensing to third parties, out-of-home, broadcast, confirm the scope with our team before publishing.
For specifics, see the Janjan AI Terms of Service.
Data and privacy
When you upload garment imagery to generate assets, that imagery is used to produce your outputs. It isn't used to train shared models or shared with third parties. For the full data handling policy, see the Janjan AI privacy policy.
Brand safety
The approval workflow in Janjan is designed so that nothing publishes without human sign-off. You review outputs in a gallery before anything is pushed to Shopify or exported for ads. That gate is there specifically to prevent off-brand or technically incorrect assets from going live.
AI model consistency
With 100+ casting options and the ability to lock a model identity across a collection, visual consistency across your PDP and ad creative doesn't depend on re-booking the same talent. The model is a saved parameter, not a logistics problem.
Frequently asked questions
Can I start from flat-lays only, with no studio shots?
Yes. Flat-lays are the most common input type. As long as the full garment is visible, the fabric texture is legible, and the colour is accurate, a flat-lay produces on-model results that pass PDP and ad review. You don't need studio photography to start.
Will it keep garment details accurate across multiple angles?
Garment detail fidelity is built around the source image you provide. If the source shows the full garment clearly (including hardware and trims), Janjan maintains that detail across angles. The approval rubric in Step 4 above is specifically designed to catch detail failures before they reach PDP.
Can I keep the same model across a whole collection?
Yes. Model identity is a locked parameter within a generation setup. Select your model once, save the setup, and every SKU in the family inherits it. This is what gives a catalogue the consistency of a booked shoot without the logistics of one.
Does it work for layered or modest fashion?
Yes. Layered garments (coats over knitwear, layered abayas, modest fashion sets) work well as long as the source image clearly shows all layers. Brief the generation to show the full length of the outfit and specify that all layers should be visible in the frame.
What export formats do I get for Shopify and paid social?
Exports are available at up to 2K resolution, suitable for both high-resolution PDP display and paid social creative. For Shopify, approved assets can be pushed directly back to your product media gallery. For paid social, export the asset at the crop ratio your platform requires (1:1, 4:5, or 9:16 for vertical video). File format and naming can be set before export.
How long does a generation take?
Under 60 seconds from upload to generated frame. Review and approval time depends on your internal process, not on rendering.
Can I use the images commercially?
Yes. Approved assets come with commercial rights covering ecommerce and paid advertising. See the Terms of Service for full details or contact us if your distribution scope goes beyond standard ecommerce channels.
Run a pilot: 10 SKUs, one workflow, full channel pack
The fastest way to evaluate whether this workflow replaces your current process is to run it against a real brief. Pick 10 SKUs from your next drop. Define your approval spec using the rubric above. Generate a full channel pack (hero PDP, lifestyle variant, detail shot, short-form video) for each one. Compare the output, quality, turnaround, cost, against your last production run.
That comparison tells you exactly where the saving is, and what (if anything) still needs a traditional shoot in your specific workflow.
Book a workflow walkthrough and tell us what inputs you're starting from and which ad platforms you're targeting. We'll build a tailored workflow spec for your catalogue and show you a sample gallery from your product category before you commit to anything.