How to Turn Flat-Lay Clothing Photos into Professional Model Photos with Janjan.ai
Learn how to transform flat-lay clothing images into realistic on-model e-commerce photos using Janjan.ai, without organising a traditional photoshoot.
Janjan Team
Author
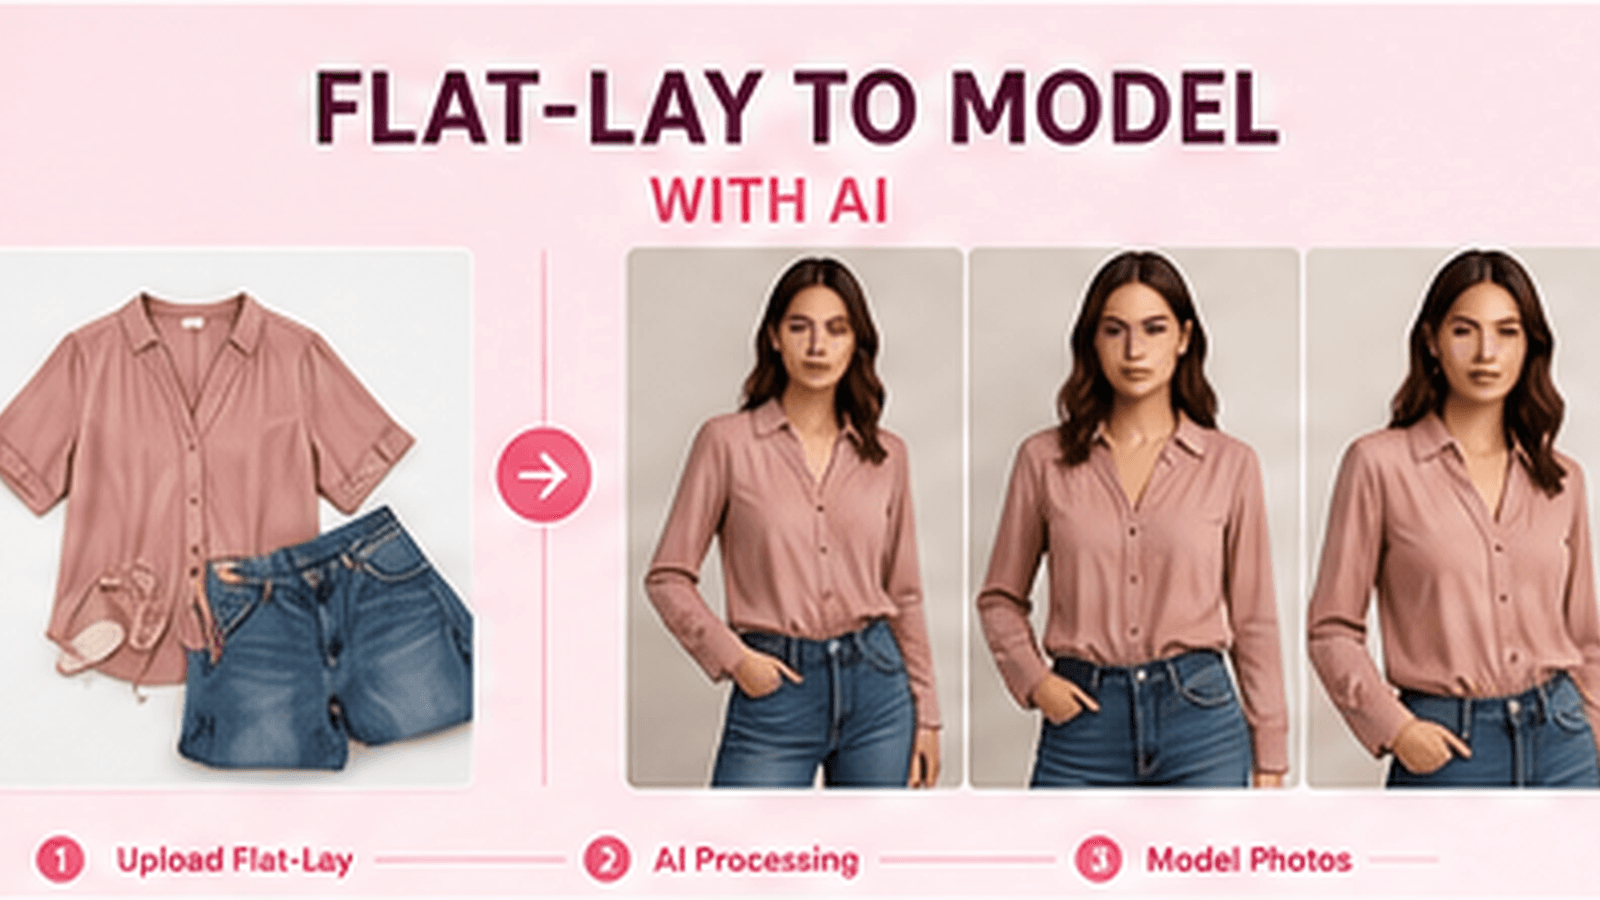
How to Turn Flat-Lay Clothing Photos into Professional Model Photos with AI
Flat-lay photography is one of the simplest ways to photograph clothing.
The garment is placed on a surface and photographed from above, giving customers a clear view of its colour, shape and design. It is affordable, repeatable and easy to produce at scale.
However, flat-lay images have one important limitation: they do not show how the garment looks when worn.
Customers cannot easily judge how the fabric falls, where the hem sits, how the garment relates to the body or how it might be styled as part of an outfit.
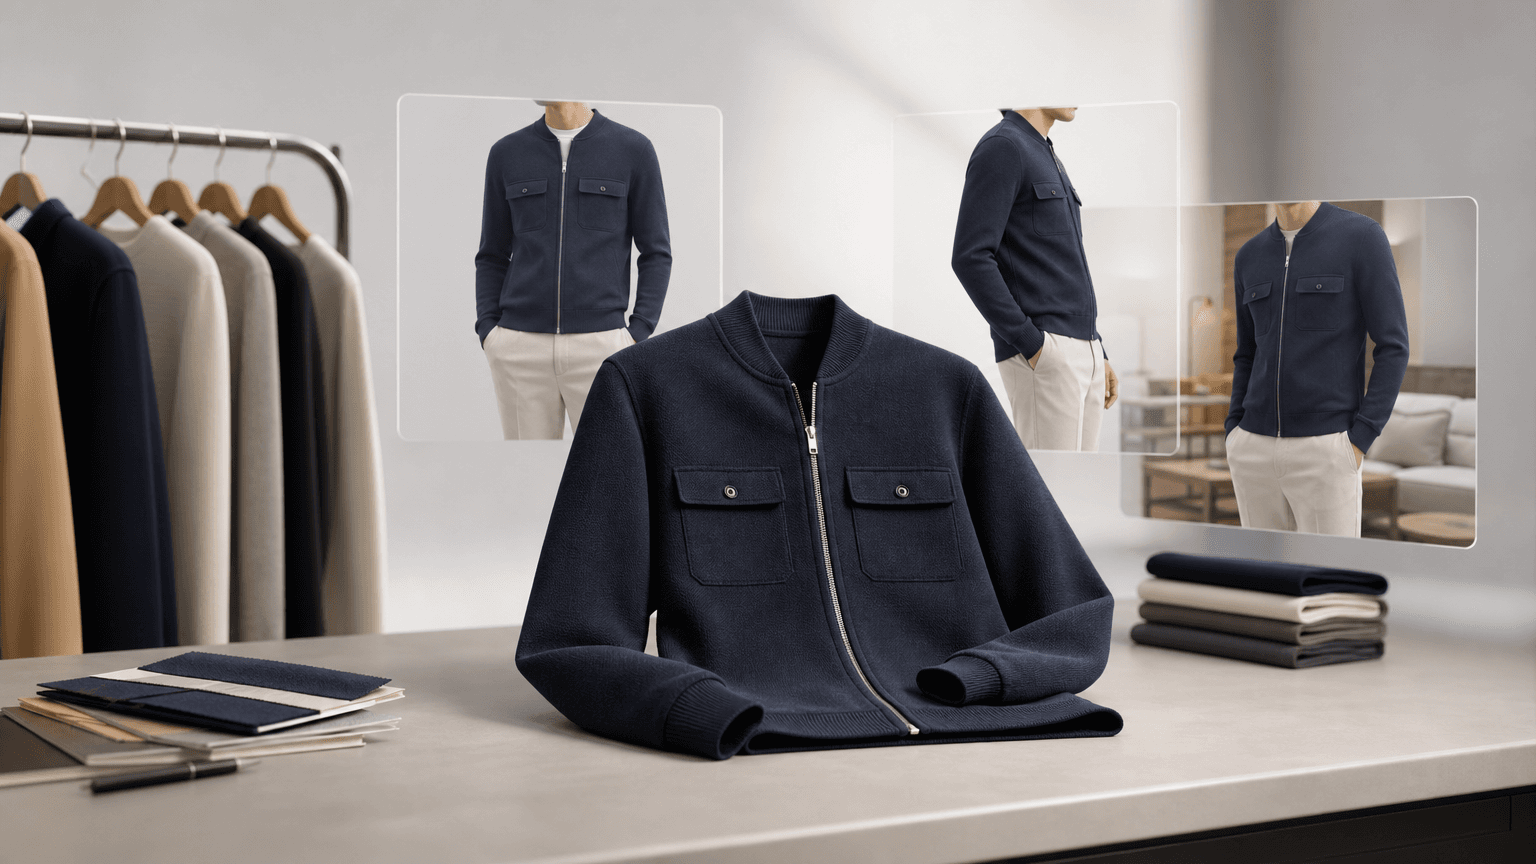
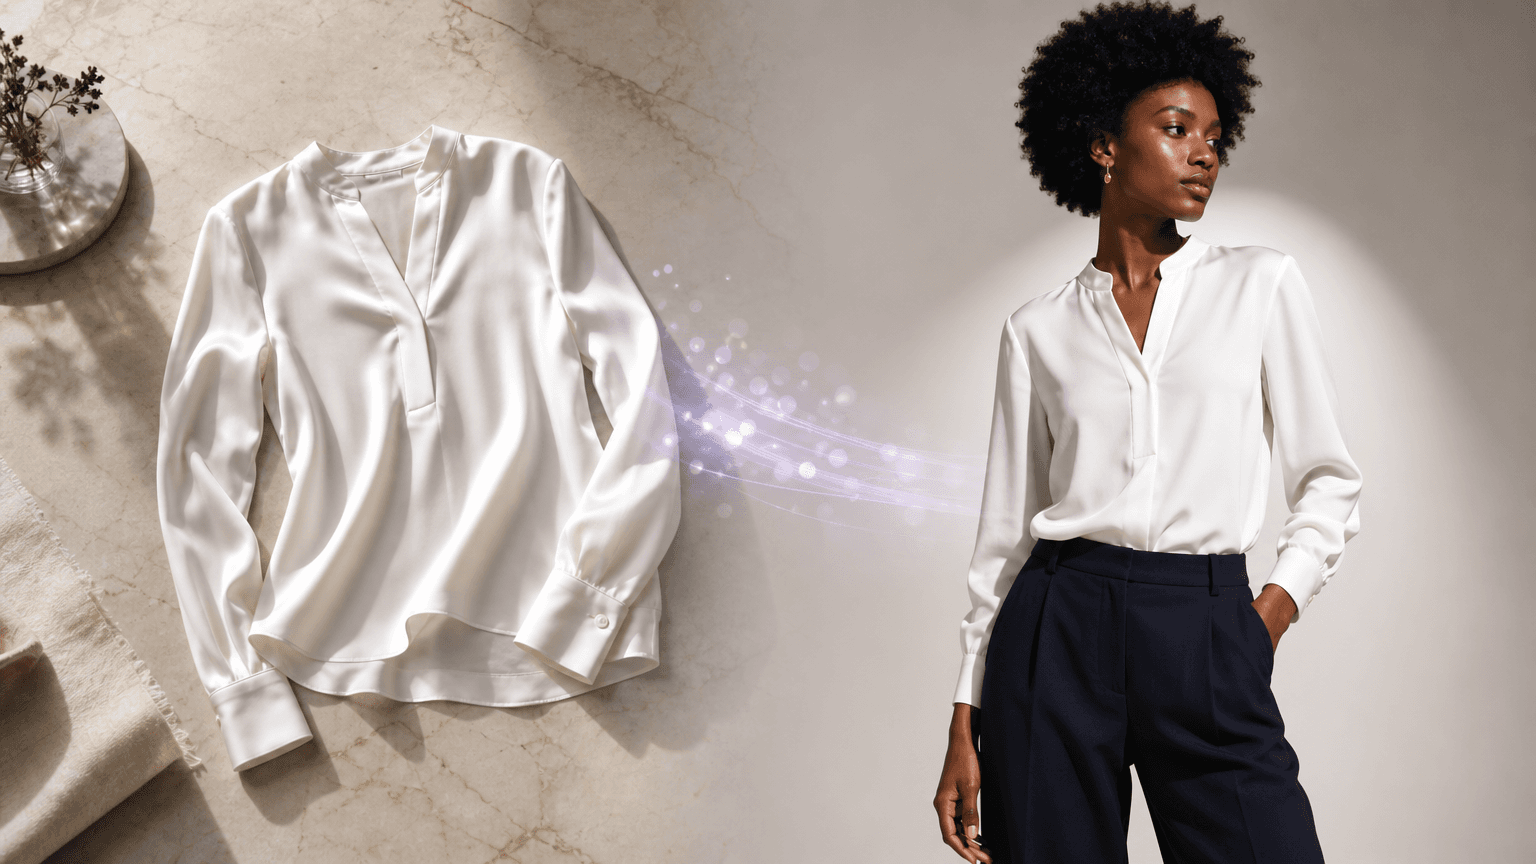
Traditionally, the solution was to organise a model photoshoot. Today, fashion brands can use AI to transform flat-lay clothing photographs into professional on-model images.
This guide explains how the process works, how to prepare your images and what to review before publishing the results.
Why Flat-Lay Images Are Useful
Flat-lay images remain valuable for fashion ecommerce.
They can show:
- The complete shape of a garment
- The colour and print
- The neckline and sleeve design
- Visible fastenings
- Pockets and construction
- Branding and labels
- The product without styling distractions
They are particularly effective as supporting images on product pages.
The problem arises when flat lays are the only images available.
Fashion customers usually want to see both the product itself and the product being worn. On-model photography adds context that a garment-only image cannot provide.
What Is Flat-Lay-to-Model AI?
Flat-lay-to-model AI uses a garment photograph as a visual reference and generates a new image of a model wearing that garment.
The process usually combines several elements:
- The original garment image
- A selected model
- A chosen pose or body position
- A background or scene
- Lighting and composition settings
The AI analyses the shape and appearance of the garment, then reconstructs it on the model.
A specialised fashion system should preserve the original product while adapting it naturally to the human body.
The objective is not to redesign the garment. It is to present the same garment in a more useful visual format.
Why Fashion Brands Use AI Model Photography
Avoiding a New Photoshoot
A traditional model shoot requires coordination.
The brand may need to:
- Receive product samples
- Book a photographer
- Find suitable models
- Hire a studio
- Organise styling
- Prepare a shot list
- Manage the shoot
- Select final images
- Complete retouching
This process may be worthwhile for a major campaign, but it can be too expensive or slow for every product in a large catalogue.
AI allows teams to start with the flat-lay images they already have.
Launching Products Faster
New products often arrive at different times.
Waiting until every sample is available for one large shoot can delay publication. Organising several smaller shoots increases cost and operational complexity.
With an AI workflow, each product can move into image production independently.
As soon as a suitable garment image is ready, the brand can begin generating model imagery.
Creating More Variations
One physical photoshoot may produce a small number of approved images.
AI can create additional variations for:
- Product pages
- Collection pages
- Homepage banners
- Stories
- Email campaigns
- Paid advertisements
- Seasonal promotions
- International markets
The same garment can be shown on different models or in different visual environments while maintaining a consistent campaign direction.
Step 1: Choose the Right Flat-Lay Image
The result depends heavily on the quality of the source image.
Use a photograph where:
- The complete garment is visible
- The product is not folded
- The shape is easy to understand
- The camera is positioned directly above it
- The image is sharp
- The lighting is even
- Colours appear accurate
- Important details are not hidden
- The background is simple
- There are no unrelated objects
A clean image gives the AI more reliable information.
Avoid Heavily Styled Flat Lays
Accessories, flowers, bags, jewellery and decorative objects may make a flat lay attractive for social media, but they can make product extraction more difficult.
For AI transformation, a clean garment-only image is usually better.
Keep the Garment Symmetrical
The product does not need to be perfectly flat, but extreme folds can hide its construction.
Arrange sleeves, straps, hems and waistbands so that their shape is visible.
Use High Resolution
Small photographs make it harder to preserve details such as:
- Stitching
- Buttons
- Fine prints
- Ribbing
- Embroidery
- Logos
- Fabric texture
Use the highest-quality original image available rather than a compressed screenshot.
Step 2: Select the Model
The selected model should suit the garment and the brand.
Consider:
- Target customer
- Age range
- Body type
- Skin tone
- Hair style
- Campaign mood
- Product category
- Existing brand imagery
A luxury evening dress and a technical running jacket may require very different model directions.
The model should also remain consistent across related products. Using a completely different visual identity for every item can make a catalogue feel disconnected.
For a collection, it is often better to select a small group of recurring models.
Step 3: Select the Pose
The pose influences how well customers can understand the product.
For ecommerce, useful options include:
Front View
The front view clearly shows:
- Neckline
- Fastenings
- Waist
- Hem
- Front pockets
- Print placement
- Overall silhouette
This is often the most important on-model image.
Back View
Use a back view when the garment contains important rear details, such as:
- Back prints
- Open-back construction
- Straps
- Rear pockets
- Yokes
- Vents
- Fastenings
Side or Three-Quarter View
These angles help communicate:
- Garment depth
- Side seams
- Sleeve volume
- Fit around the waist and hips
- Length relative to the body
Editorial Pose
A more expressive pose can make the image suitable for campaigns, social media and collection pages.
However, the pose should not hide the product. Hands, hair, bags or body movement should not cover important details.
Step 4: Choose the Background
The right background depends on how the image will be used.
Plain Studio Background
Best for:
- Product pages
- Marketplaces
- Consistent catalogues
- Clean website layouts
- Product comparison
A white, light grey or neutral studio background keeps attention on the garment.
Lifestyle Background
Best for:
- Collection pages
- Social media
- Email marketing
- Campaigns
- Homepage banners
The scene should support the product category.
For example:
- Sportswear in a modern training environment
- Summer clothing in a coastal setting
- Workwear in a clean urban location
- Eveningwear in a refined architectural interior
- Streetwear in a contemporary city scene
Editorial Background
Editorial scenes allow stronger creative direction.
Use them to create atmosphere, but avoid backgrounds that compete with the garment through excessive colour, clutter or contrast.
Step 5: Generate the Image
In a platform such as Janjan, the user can combine the garment, model, pose and scene without writing a long technical prompt.
The AI then generates an image based on those selections.
Depending on the garment and source image, it may be useful to create several versions and compare them.
Do not select the most dramatic image automatically. Select the image that best represents the actual product.
Step 6: Review Product Accuracy
This is the most important step.
Compare the generated model photograph directly with the flat-lay image.
Check the following.
Colour
Has the product colour changed?
Subtle colour shifts can occur, especially with:
- Pastels
- Dark navy
- Cream
- Metallic materials
- Neon colours
- Complex lighting
The final image should remain consistent with the real product.
Shape and Length
Review:
- Sleeve length
- Body length
- Hem position
- Trouser length
- Skirt length
- Collar size
- Neckline depth
- Shoulder width
The AI should not turn a cropped top into a full-length top or a relaxed garment into a fitted one.
Construction
Check:
- Number of buttons
- Zip position
- Pocket placement
- Seams
- Pleats
- Straps
- Cuffs
- Waistbands
- Hoods
- Panels
These details affect whether customers recognise the product they receive.
Prints and Logos
Small text and logos are among the most difficult details for generative AI.
Review every letter and graphic carefully.
If the branding is not represented accurately, use another generation or keep the original garment-only image as the primary reference.
Fabric Behaviour
The garment should behave like the original material.
Examples:
- Denim should appear structured
- Silk should drape softly
- Knitwear should retain visible texture
- Leather should reflect light naturally
- Cotton jersey should not look like rigid plastic
- Sheer fabrics should remain appropriately transparent
Fit
The fit should match the product design.
A relaxed-fit shirt should not become body-hugging. Wide-leg trousers should not become slim-fit. A structured blazer should maintain its intended silhouette.
Step 7: Review the Model and Image Quality
Once the garment is accurate, check the overall image.
Look for:
- Natural skin texture
- Realistic hands
- Correct fingers
- Balanced body proportions
- Straight garment edges
- Natural shadows
- Consistent lighting
- Sharp facial details
- Correct footwear
- No duplicated accessories
- No distorted background objects
A realistic face does not compensate for an inaccurate garment, and an accurate garment does not compensate for obviously distorted anatomy. Both must meet the required standard.
Step 8: Prepare the Image for Ecommerce
The final image may need to be adapted for different channels.
Common formats include:
- Square images for product galleries and social posts
- Portrait images for mobile-first layouts
- Landscape images for banners
- Vertical story formats
- Marketplace-specific dimensions
Keep important garment details away from the extreme edges so that the image can be cropped safely.
Janjan includes editing tools for resizing, cropping and adjusting images after generation.
Where to Use AI-Generated Model Photos
Product Pages
Use model images alongside flat-lay or garment-only photographs.
A useful product gallery might include:
- Front model view
- Three-quarter or side model view
- Back model view
- Flat-lay garment image
- Fabric or detail close-up
- Lifestyle image
This gives customers both visual inspiration and clear product information.
Collection Pages
Consistent on-model images can make collection pages feel more cohesive.
Use similar framing, backgrounds and lighting across the collection.
Social Media
Create more expressive poses and backgrounds for social posts while keeping cleaner images for product pages.
Advertisements
AI imagery can help brands test several visual concepts before committing budget to one campaign direction.
Email Marketing
A product already photographed as a flat lay can be placed into a campaign setting for a launch email, seasonal promotion or restock announcement.
Common Mistakes to Avoid
Using a Poor Source Image
A low-resolution or heavily folded garment gives the AI incomplete information.
Hiding Important Details
An editorial pose may look appealing but fail to show the product clearly.
Publishing Without Comparison
Always compare the result with the original garment.
Generating Every Image in a Different Style
Consistency matters more than novelty for an ecommerce catalogue.
Removing the Original Product Image
AI model photography should usually complement, not completely replace, clear garment-only images.
Ignoring Branding Errors
Do not publish distorted logos or unreadable printed text.
Over-Retouching
Plastic skin, excessive smoothing and unrealistic proportions can reduce trust.
Flat Lay or Model Image: Which Should Be the Main Product Photo?
There is no universal answer.
A model image may be more engaging because it helps the customer imagine wearing the product. A flat lay may communicate the exact shape and construction more clearly.
Many brands benefit from using both.
A strong approach is:
- Use an accurate model image as the primary photograph
- Include the original flat lay as a supporting image
- Add detail images for texture, print and construction
- Include a back or side view when relevant
This combines emotional appeal with product clarity.
How Janjan Turns Flat Lays into Model Photos
Janjan is built to help fashion ecommerce teams create professional content from existing product images.
The workflow allows users to:
- Upload or import a garment image
- Add it to a garment library
- Select an AI fashion model
- Choose a pose
- Select a studio or editorial scene
- Generate several image options
- Review and edit the result
- Resize or crop the selected image
- Sync it back to Shopify
- Publish approved content to supported social channels
Because the workflow is designed specifically for fashion, users do not need to rely on complicated prompt engineering for every product.
Final Thoughts
Flat-lay photography remains a practical way to capture fashion products, but it does not always provide the context customers need.
AI flat-lay-to-model technology gives brands a way to create realistic on-model photographs without organising a new physical shoot for every item.
The best results come from combining:
- A clean source image
- A suitable model
- A product-focused pose
- A relevant background
- Careful quality control
- Direct comparison with the original garment
When those elements are handled properly, one flat-lay image can become the foundation for a complete set of ecommerce, campaign and social media visuals.