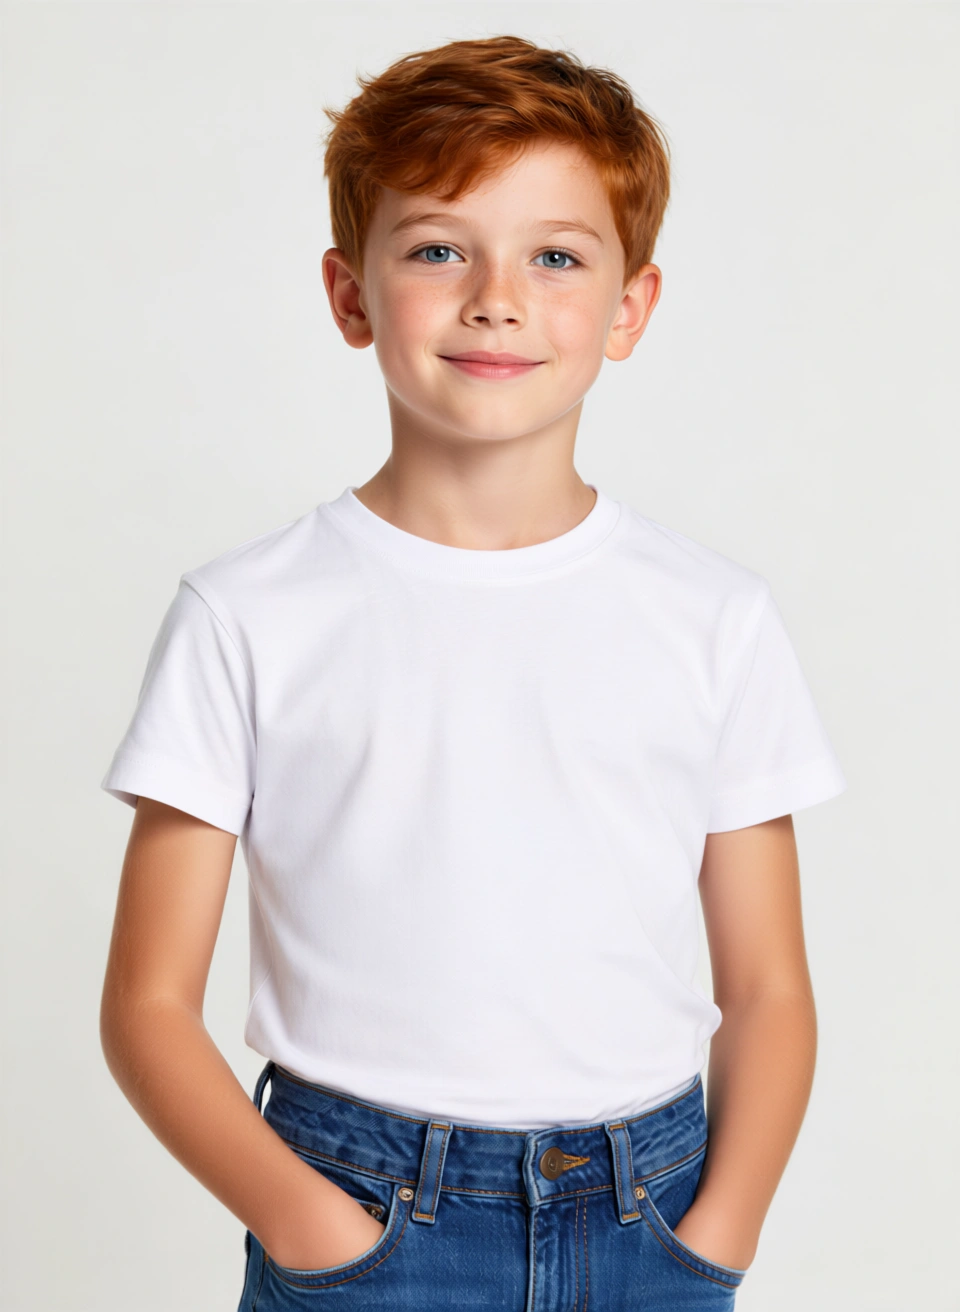
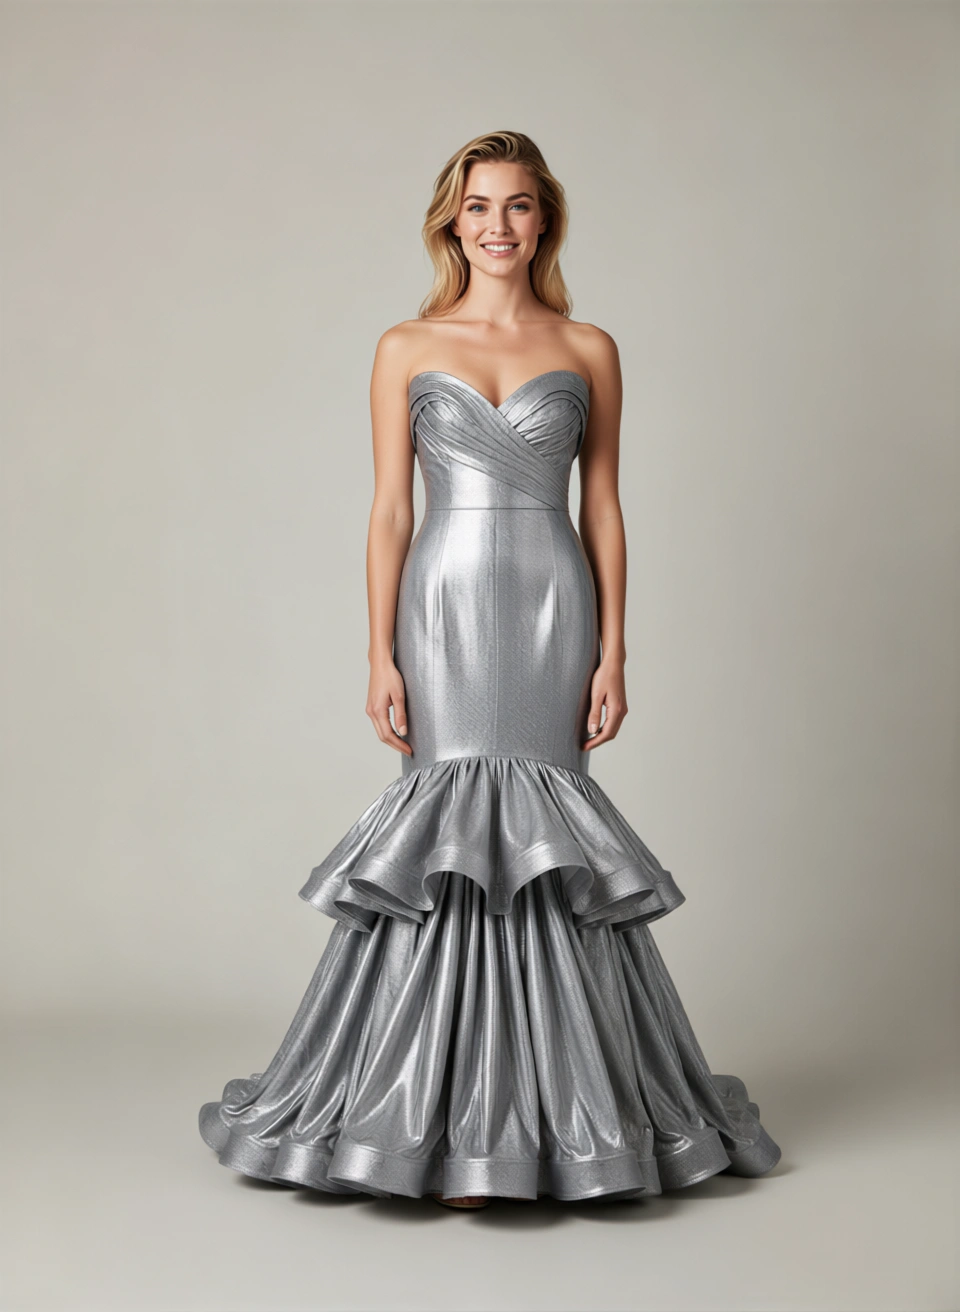
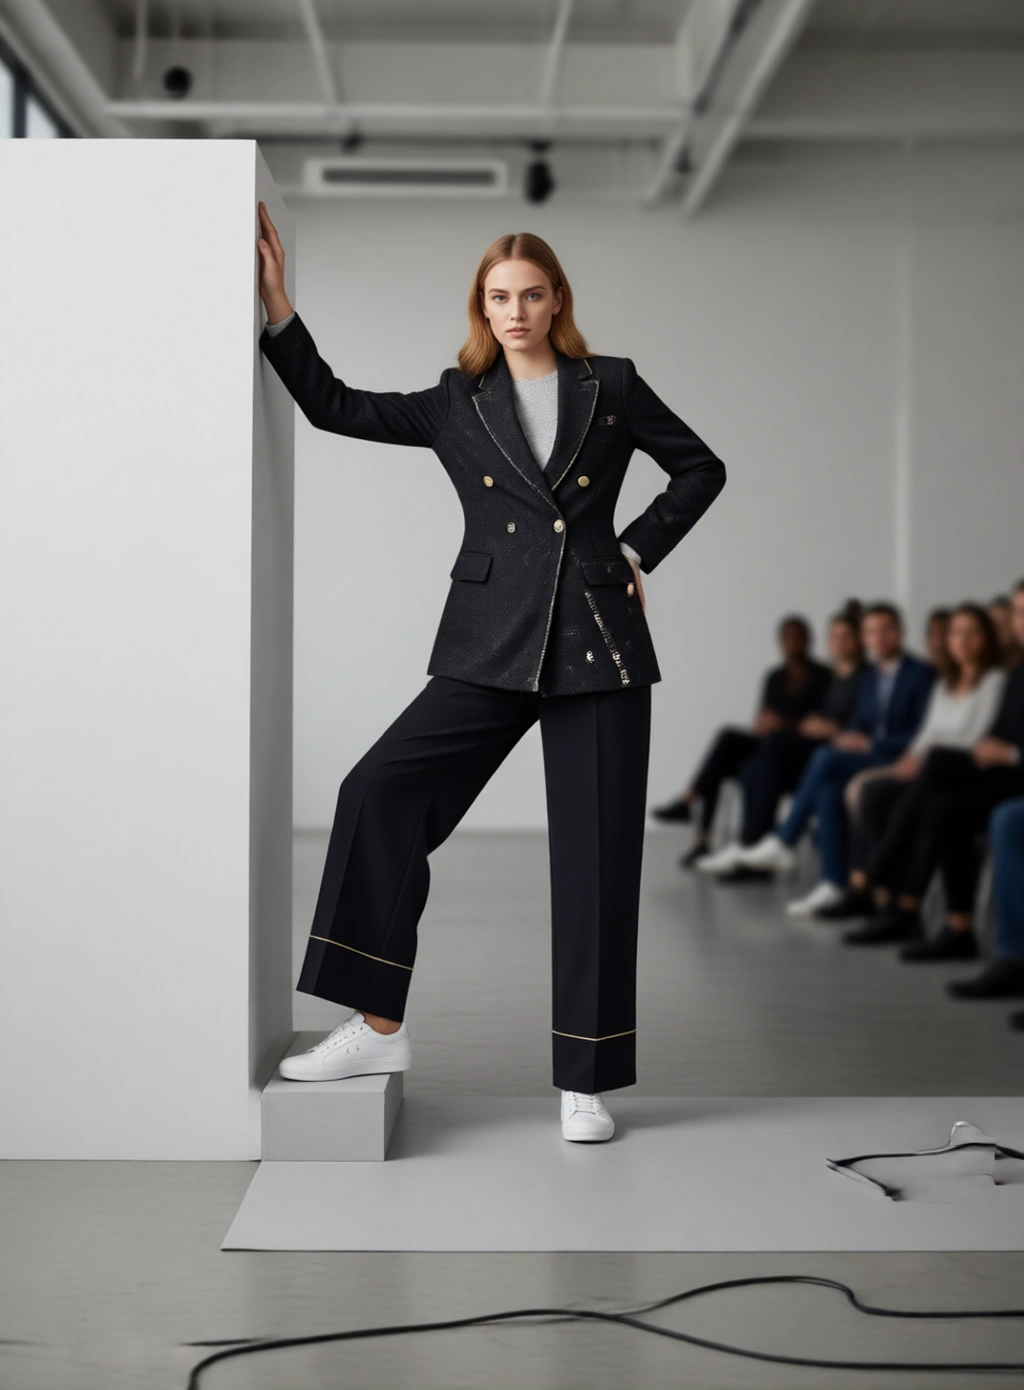
8 steps to create on-model campaign images from your product catalogue
Turn flat-lays and mannequin shots into photorealistic on-model campaign assets without a reshoot. Includes a QA checklist, channel specs, and cost model.
Janjan Team
Author
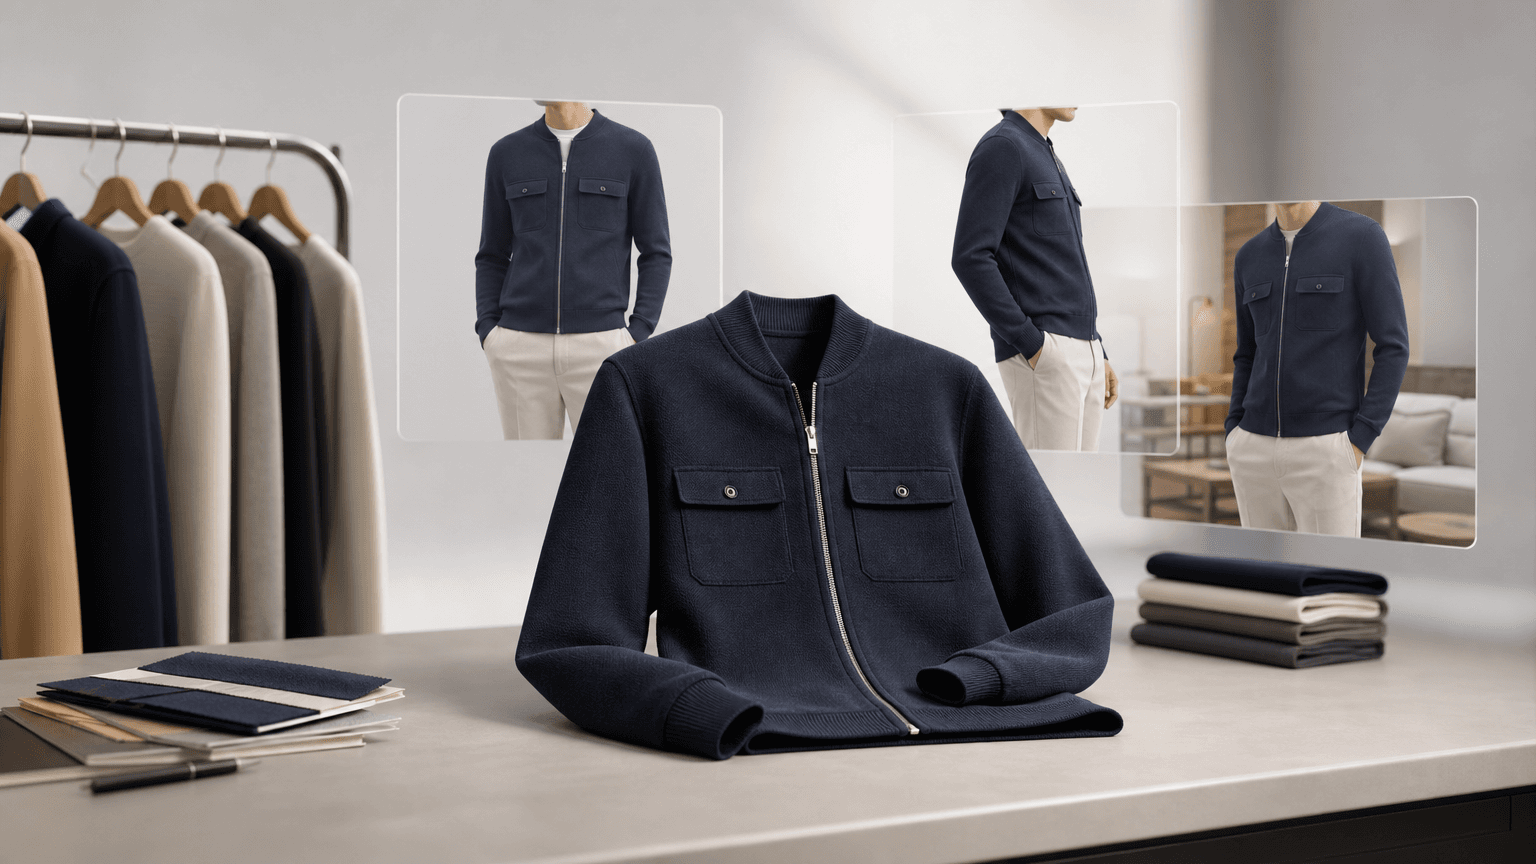
Most fashion eCommerce teams face the same production bottleneck: new stock arrives, the shoot isn't booked for three weeks, and launch is next Friday. The result is either a delayed go-live, a PDP that relies on ghost-mannequin shots, or a paid social campaign built from last season's talent.
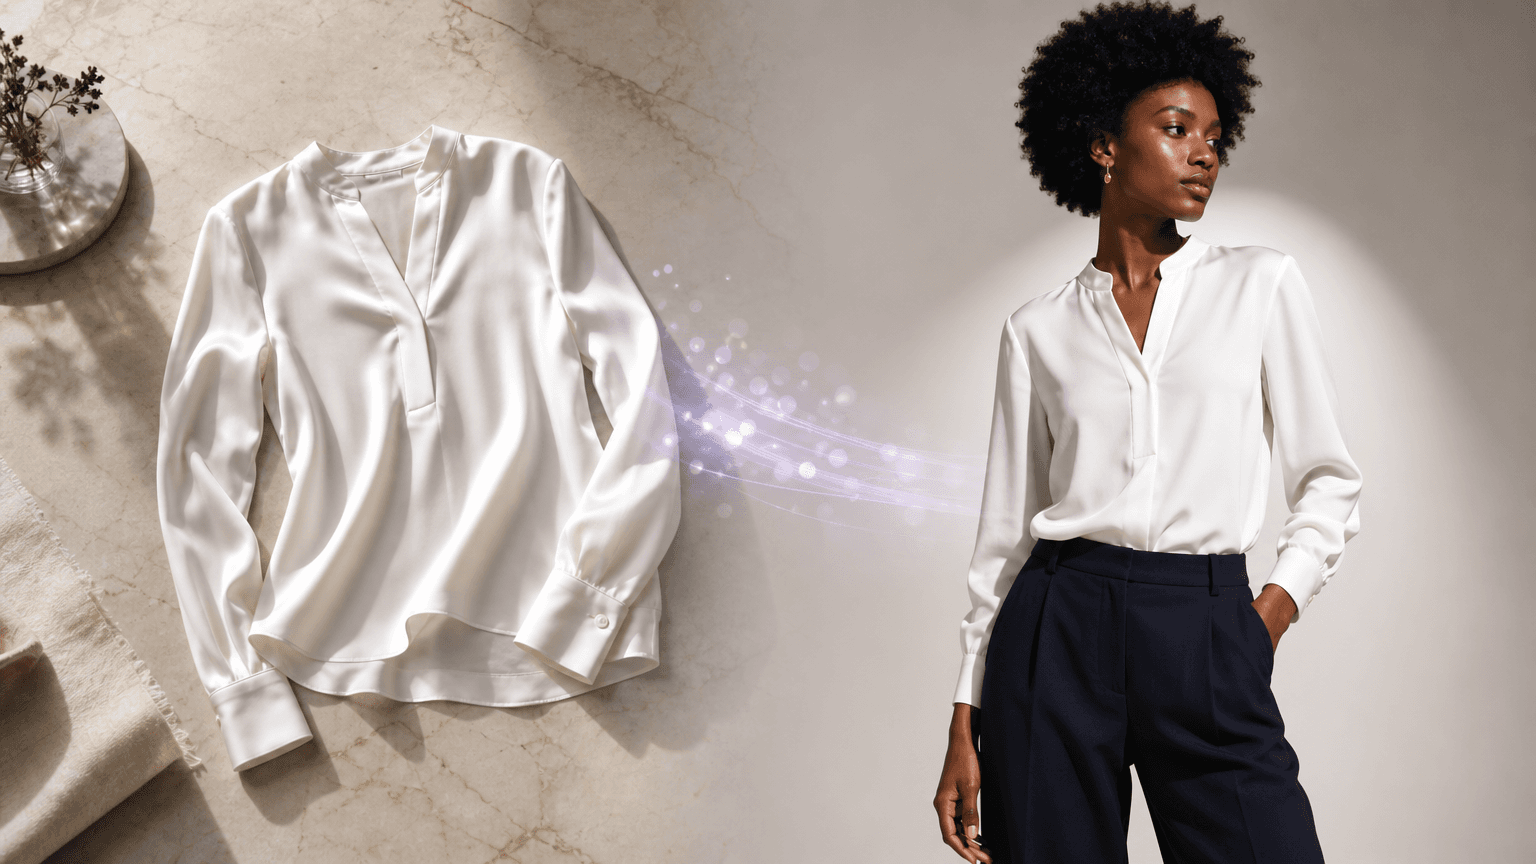
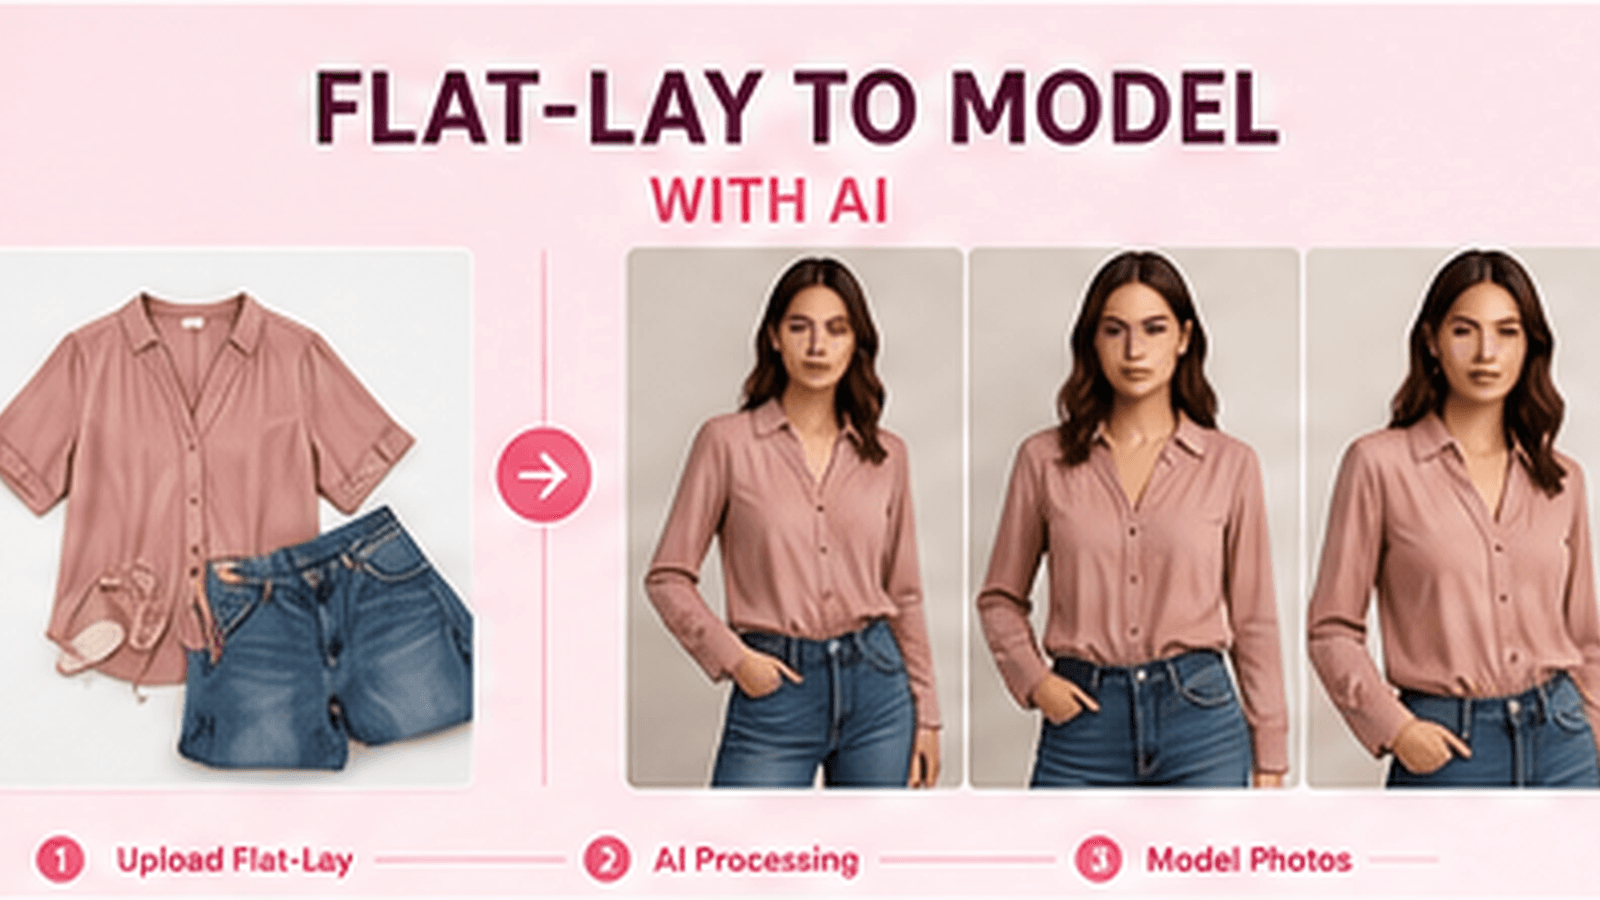
The practical alternative is AI on-model photography for ecommerce, transforming catalogue imagery you already own into photorealistic on-model campaign assets, without booking a studio, hiring talent, or waiting weeks. The process is more structured than it sounds. Here's how to run it end to end.
1. Understand what inputs actually work
The starting point isn't a perfect image. It's an adequate one.
Acceptable source inputs include flat-lays photographed cleanly against a light surface, mannequin and ghost-mannequin shots, and existing catalogue images with reasonable edge definition. What matters is that the garment reads clearly, its structure, fabric weight, and key details, not that it already looks polished.
What doesn't work well: blurry close-up fragments, heavily colour-corrected images that strip garment texture, or shots where the product is partially obscured. If the source doesn't show the garment unambiguously, no generation tool can invent the missing information reliably.
Flat-lay to model transformation works reliably from flat-lays when the garment has a clean silhouette. Mannequin-to-model image generation is often faster to QA because garment structure is already three-dimensional.
2. Know what you're producing and why
Before generating anything, define the output set for the collection. This prevents duplicated effort and makes QA tractable.
Typical outputs per SKU include: one or two PDP hero images, a campaign image for email/homepage, paid social variants in feed format, and potentially a vertical crop for Stories or Reels. That's four to six assets from a single source image. Scale that across a 50-SKU collection and the volume case for AI generation becomes straightforward.
According to Baymard Institute research, 42% of users attempt to gauge the scale and size of a product from its images, which is a direct argument for having on-model assets on PDP, not just isolated product shots. Professional product imagery has also been shown to improve conversion rates by 10% to 33% across ecommerce categories (Blend Now, September 2025).
3. Run an honest cost comparison before committing
Traditional product photography costs $25–$350 per image and $500–$3,000 per shoot day depending on complexity, location, and whether models are involved (Prodofoto, February 2026). For lifestyle imagery the range shifts to $100–$500+ per image (nightjar.so, February 2026).
A simple decision model for a 50-SKU collection at 4 images per SKU:
| Route | Unit cost | Total |
|---|---|---|
| Traditional (model, studio) | $150/image average | $30,000 |
| AI generation | Subscription-based | Materially lower |
The per-image cost difference compounds quickly. Beyond direct spend, the time-to-market advantage is often the more operationally significant number: faster iteration means you can run A/B tests on creative variants while the collection is still in peak trading, rather than testing into the tail.
Review Janjan.ai's pricing for a current credit-to-output model across different production volumes.
4. Prepare your catalogue inputs properly
Before uploading source images, run a quick input audit:
- Remove distracting backgrounds if they contain heavy shadow or competing patterns
- Confirm minimum resolution, aim for 1,000px on the shortest side as a floor; 2,000px+ gives the generation more to work with
- Check that key garment details (print placement, collar construction, button fly, stitching) are visible in the source frame
- For flat-lays, ensure the garment is smooth and correctly oriented, creases and folds carry through into the output
A weak input requires either a better photograph or acceptance of a constrained output. There's no shortcut around this step.
5. Select casting and pose direction that fits your brand
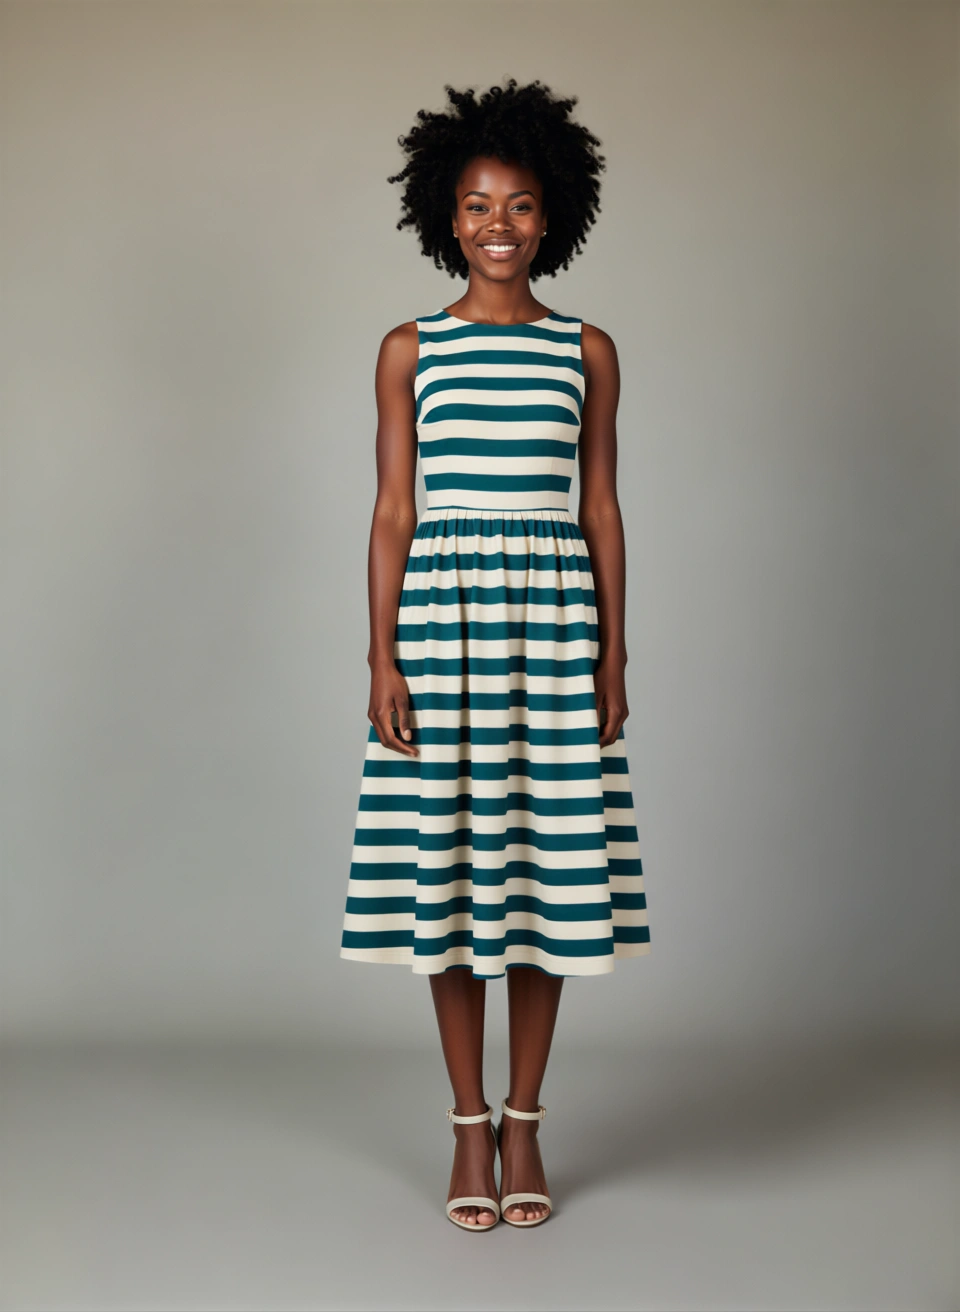
Choosing casting isn't just a creative preference, it's a merchandising decision. The model you select needs to represent the customer you're marketing to, hold the garment at a realistic scale, and remain consistent across all assets in the campaign set.
For teams using Janjan.ai's AI fashion studio, this means selecting from a library of over 100 casting options and setting the pose direction before generating any outputs. Locking these choices before generating at scale saves significant time in QA and prevents inconsistent sets going live on PDP.
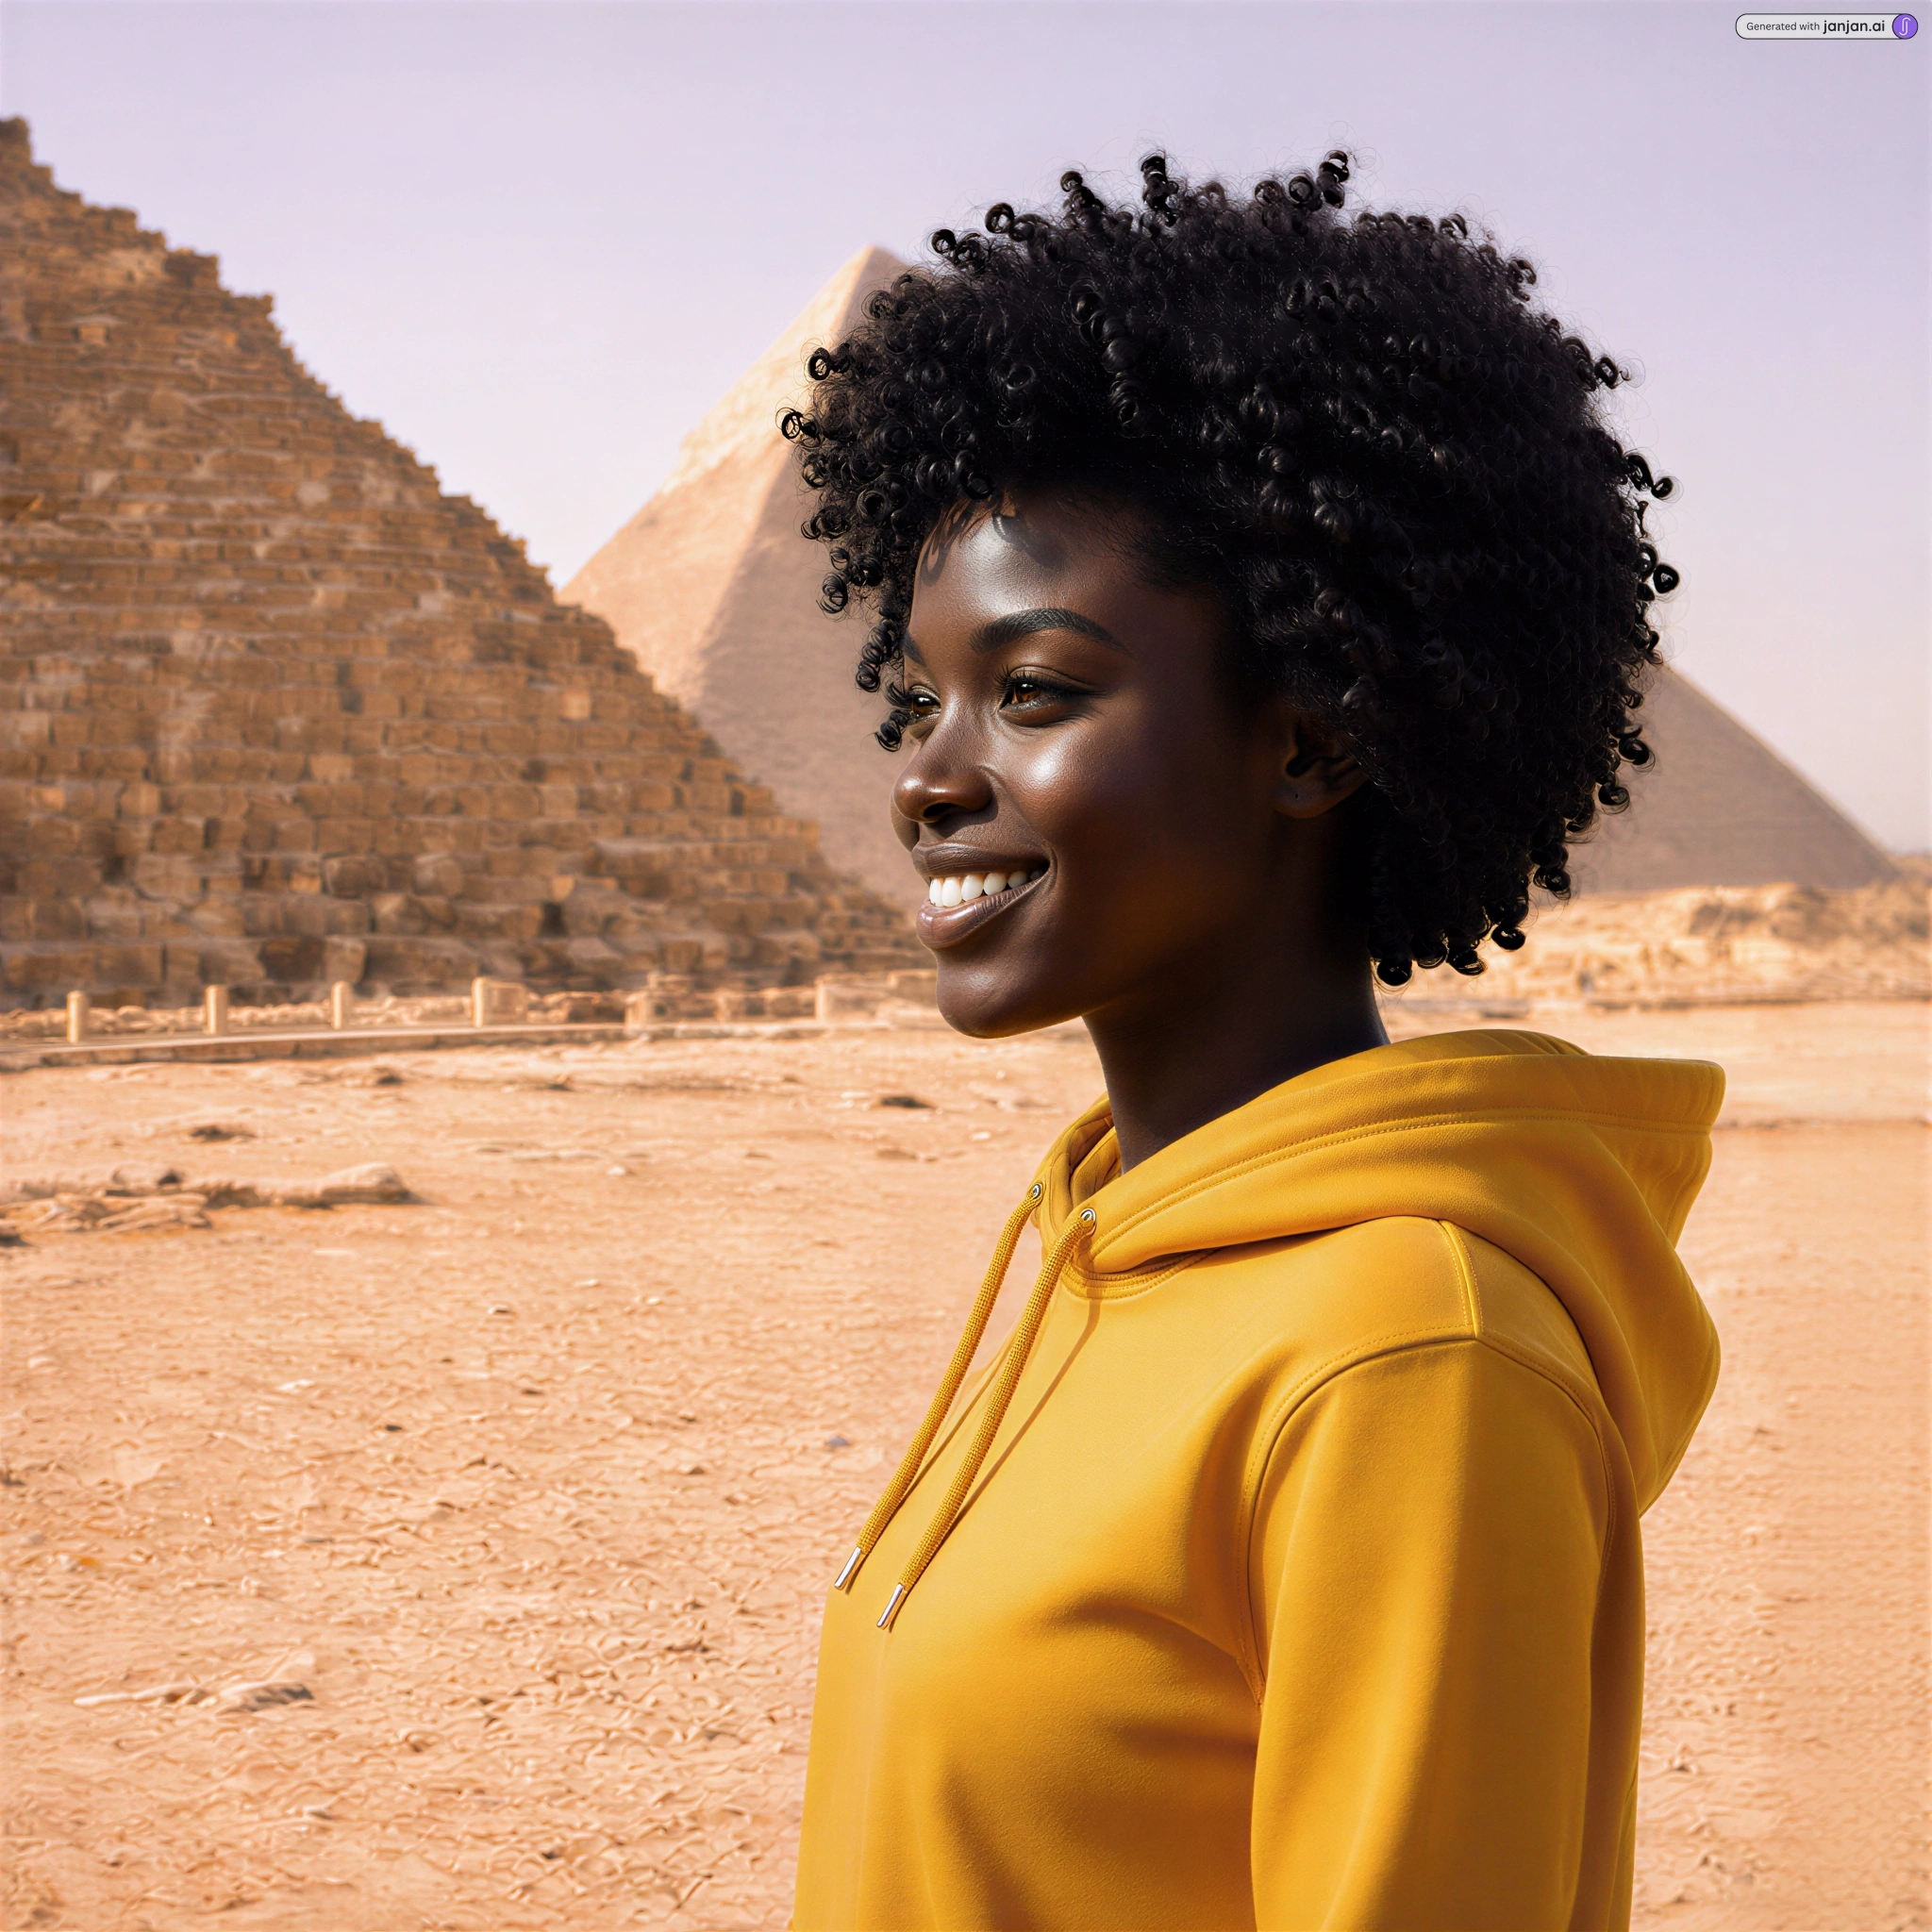
For market-specific campaigns, this is also where localisation decisions happen. Swapping model or scene for a regional storefront doesn't require a new shoot, it requires a new generation brief. That distinction is what makes localised storefront imagery without reshoot operationally viable for brands operating across multiple markets.
6. Apply a garment fidelity QA checklist to every output
This is the step most teams under-invest in, and the one that determines whether AI-generated assets hold up at scale.
Use the following checklist before approving any output:
- Logos and prints: confirm placement, proportions, and orientation match the source exactly
- Seams and construction lines: check that the seam path reads correctly and hasn't been interpolated inaccurately
- Button and fastening placement: count buttons, check alignment and spacing against the source
- Fabric drape and texture: confirm the fabric behaviour is consistent with its weight (jersey shouldn't look structured; tailoring shouldn't look limp)
- Colour accuracy: compare at full zoom against the source, subtle shifts are common and affect product accuracy
- Lighting and shadow consistency: all outputs in a set should share the same light direction and quality
- Model consistency: the same casting choice should be visually consistent across every asset in the campaign
Practical QA process: zoom to 100% in the review gallery, compare directly against the source catalogue image, and reject/regenerate anything that fails on garment accuracy. A production-ready studio photos brief established before generation reduces the regen rate significantly.
7. Export to the correct specifications for each channel
Output size is not a detail, it determines whether an asset renders correctly across placements. The table below covers the primary channels.
| Channel | Minimum spec | Ideal spec |
|---|---|---|
| Shopify PDP (square) | 800 x 800px | 2,048 x 2,048px |
| Shopify upload limit | n/a | 5,000 x 5,000px, max 20MB |
| Meta Feed (square) | 1,080 x 1,080px (1:1) | 1,080 x 1,080px |
| Meta Feed (portrait) | 1,080 x 1,350px (4:5) | 1,080 x 1,350px |
| Meta Stories / Reels | 1,080 x 1,920px (9:16) | 1,080 x 1,920px |
Shopify's published guidance (June 2026) states that square product images should be 2,048 x 2,048 pixels, with uploads supported up to 5,000 x 5,000 pixels at up to 20MB. For Meta, the most versatile single format is 1,080 x 1,080 pixels, which works across approximately 80% of placements (Ads Uploader, 2026). Mobile feed performance benefits from a 4:5 crop at 1,080 x 1,350 pixels (Vizup, April 2026).
For teams using the Shopify product photography workflow, approved assets can be exported at 2K and synced directly back to the originating product record, keeping the merchandising pipeline intact.
8. Assign ownership across teams before you scale
AI generation doesn't remove the need for governance, it shifts where decisions are made. A lightweight ownership model prevents duplicated work and version control failures:
- Creative ops defines the casting library, approved scene types, and campaign look and feel. They own the brief, not the individual asset.
- Merchandising owns PDP compliance: naming conventions, image order, version control, and the accept/reject decision for each product record.
- Growth and performance owns creative variants and iteration cadence. They decide which crops and aspect ratios get tested, and at what frequency.
- Legal/compliance should sign off once on the commercial use policy for approved generated assets rather than reviewing every output individually.
On commercial use: for platforms like Janjan.ai, approved generated outputs carry commercial usage rights, meaning teams can use them in ads, on-site, and in email without restrictions that would apply to stock imagery or third-party content. Confirm the specific rights terms for your platform before scaling to paid media.
Frequently asked questions
Can I create on-model images from flat-lays or mannequin shots without a model shoot? Yes. Both flat-lays and mannequin shots are valid inputs for AI on-model image generation, provided the garment structure is visible and the resolution is sufficient.
What image resolution do I need from my catalogue? Aim for a minimum of 1,000px on the shortest side. Higher input resolution (2,000px+) gives generation more garment detail to preserve, which improves fidelity on prints, textures, and construction details.
How many variants can we produce for one campaign? There's no fixed ceiling. A single source image can yield multiple pose variants, different crops for channel specs, and localised versions with different casting. The practical limit is QA capacity, not generation throughput.
Will generated images accurately reproduce garment details like prints and logos? High-quality inputs with clear print and logo visibility produce high-fidelity outputs. Fidelity degrades when the source image is low resolution or the detail is partially obscured. Use the QA checklist in Step 6 to review every output before approval.
Do I need to reshoot for different markets or regions? No. Localised variants can be produced by changing the casting choice in the generation brief, without returning to physical production.
How do I export assets to the right specs for Shopify and ads? Refer to the export table in Step 7. For Shopify, the target is 2,048 x 2,048px. For Meta, produce both a 1:1 square (1,080 x 1,080px) and a 4:5 portrait (1,080 x 1,350px) as standard.
The core operational gain from this workflow is predictability. You're no longer dependent on shoot availability, talent scheduling, or location logistics to generate campaign-ready assets. The creative brief replaces the call sheet, and the generation studio replaces the shoot day.
To see the approach applied to your own catalogue, start a pilot with a single collection at Janjan.ai, the output set from one SKU is enough to validate whether the quality holds for your garment types before committing to a full rollout.